Create an indicator
Action map
The following diagram showcases the action flow of creating and implementing a custom indicator.
graph TB
  A([Add a New Indicator]) ==> B([Edit the Indicator Code]);
  B ==> C([Save and Build Your Indicator]);
  C ==> D([Create and Customize an Indicator Instance]);
Add a new indicator
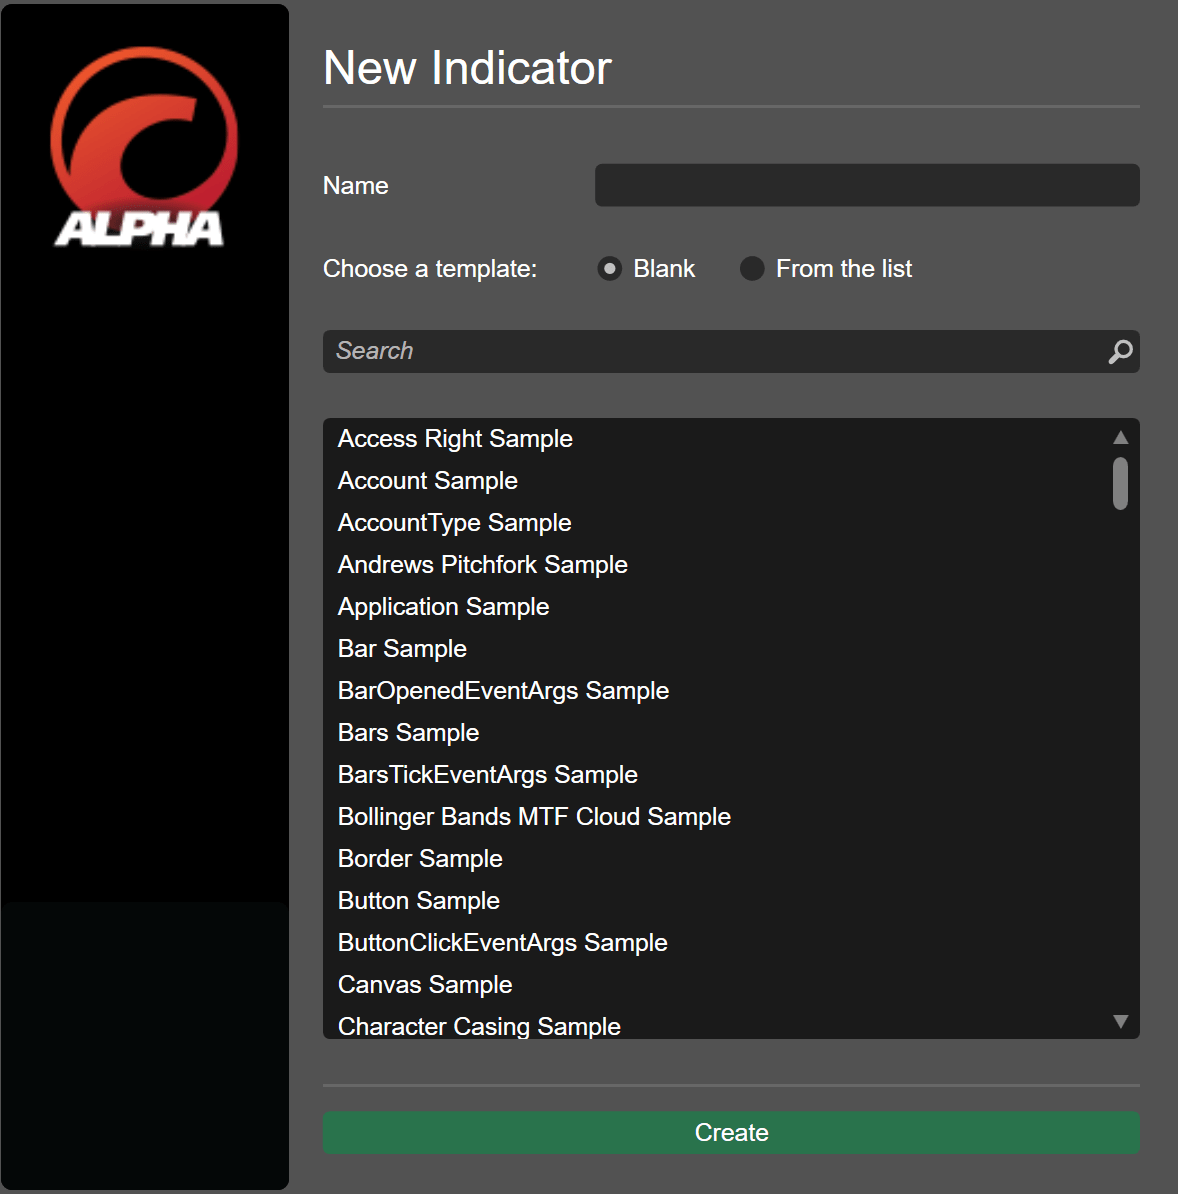
Click the New button to the right of the search bar. The following window should open.

Type the indicator name and select between two options:
- Blank - If this option is chosen, the new indicator will contain only a basic template.
- From the list - If this option is chosen and an indicator is selected from the list below, the new indicator will contain the entire code of the chosen algo. The pre-made indicators in the list cover a wide range of technical analysis patterns and visual outputs.
Samples repository
The code samples for the From the list option are taken from the git@github.com:spotware/ctrader-automate-samples.git repository. To access it, click here.
Click Create to finish setting up the indicator.
Note
If you would like to create a similar algo but with a different name, you can always use the duplicate functionality.
Edit the sample code
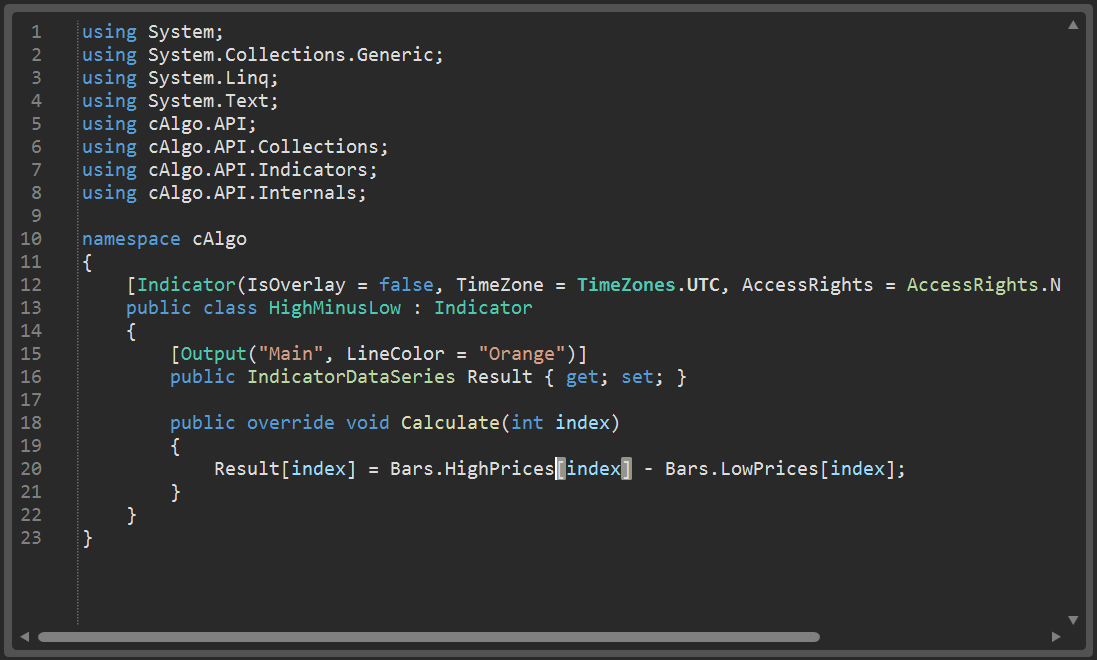
Click your new indicator to open the code editor window. If you have chosen Blank during the previous step, it will contain the following code:
1 2 3 4 5 6 7 8 9 10 11 12 13 14 15 16 17 18 19 20 21 22 23 24 25 26 27 28 29 30 31 32 33 34 35 | |
Note
If you have chosen From the list during the previous step, your indicator will be ready for action immediately. It will contain output calculation logic and custom parameters.
As we have previously discussed, the indicator attribute (Indicator) along with its optional properties such as TimeZone and AccessRights, precedes the indicator class (NewIndicator) declaration.
The [Output("OutputName")] declaration defines what your indicator is supposed to display. After using it, make sure that the property you are declaring next is of the IndicatorDataSeries type. You can customise the default appearance of your indicator output by adding one more parameter to the [Output("OutputName")] declaration.
1 2 3 | |
The Initialize() method is called on when an indicator is launched. It is typically used to initialise variables and series such as nested indicators. In general, this method should contain all variables that have to be calculated on indicator startup to avoid consuming unnecessary resources.
In turn, the Calculate() method is used to calculate a specific value for the index you would like to see displayed. It is automatically invoked on each historical bar; it is also invoked in real-time on each incoming tick. In the case of multi-symbol/multi-timeframe implementation, it will be invoked on each tick of each symbol that your indicator is tasked with analysing. Think of the Calculate() method as the place in your code where you have to implement the actual indicator formula. For example, when using the half trend indicator formula, you would use the Calculate() method to define moving average intersections.
These two methods form the foundation of every indicator and cannot be omitted. Consult our references library to learn more about the classes, methods and properties you can use when coding indicators. In addition, you can choose to write custom methods as shown in our introduction to C# and .NET.
Given what you have just learned and the examples provided in other parts of this documentation, edit the code of your indicator to suit your requirements.

In the example above, the Calculate() method determines the difference between the high and low price of each bar. The bars themselves are accessed by using their index in the Bars collection.
Copy and paste the following code just below the namespace declaration to create the same indicator.
1 2 3 4 5 6 7 8 9 10 11 | |
Save and build your indicator
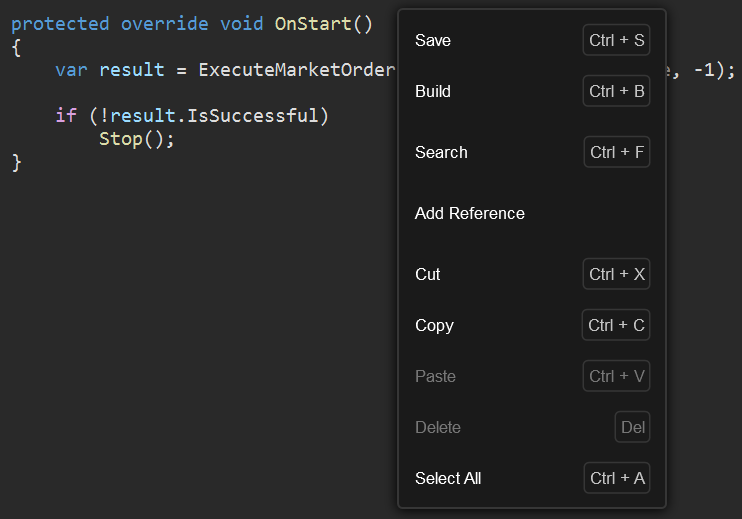
Save your code by clicking the Save button located to the upper-left of the code editor window. Alternatively, press Ctrl+S. You can also right-click anywhere in the code editor and choose Save from the newly opened menu.

Similarly to cBots, indicators need to be built before being deployed. To build an indicator, click the Build icon at the top of the code editor or in the cBot menu. The keyboard shortcut for this action is Ctrl+B.
If the build succeeds, you will be notified by a new message in the Build result viewer. If the build fails, this window will, instead, display a summary of all errors encountered during the build process. Clicking an error description in the Build result viewer will show you the exact place in your code where this error occurs.
If there are changes to your code made since the last build, you should see a red asterisk next to the Build icon. In this case, build the indicator again before running it.
Create and customise an indicator instance
If you have successfully completed all of the above actions, your indicator should be ready for deployment. To start using it, create a new instance by performing one of the following actions.
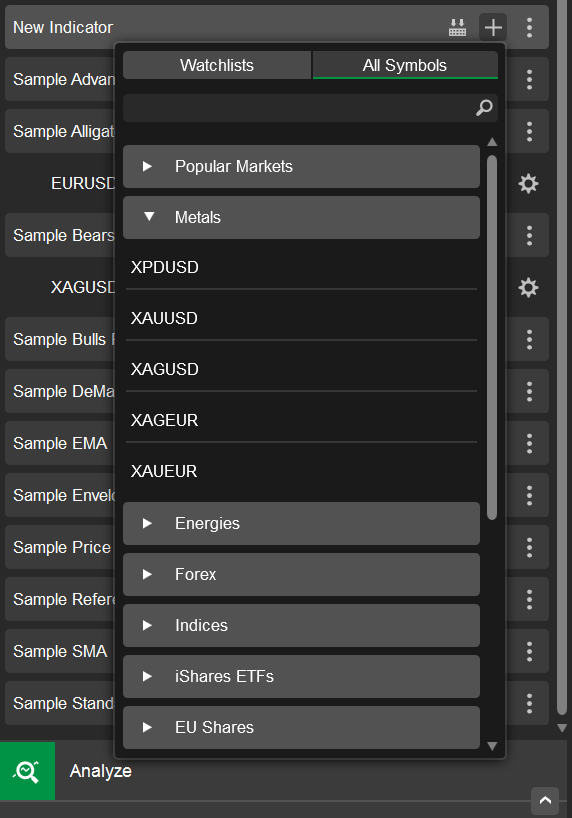
- Click the plus icon to the right of the extension name. In the menu that appears, select a symbol that you would like to trade.

- Click the three dots icon to the right of the cBot name and select Add instance. cTrader will automatically create a new instance trading the EURUSD symbol using h1 as the timeframe.
You should see a new instance located directly below your indicator.

Note
The Lines parameter is universal to all indicators, even the ones that do not explicitly declare it in the indicator code.
NaN arithmetics
Indicators perform calculations to output certain visuals. As a result, it is essential that your code accurately handles fringe cases and boundary conditions for output calculations.
Consider the following code excerpt taken from an indicator outputting a detrended price oscillator.
1 2 3 4 5 6 7 8 9 10 11 | |
The above code contains some general rules for calculation but it notably omits any boundary conditions.
For example, if Periods has the value of 10 and index has its value in the 0-9 range, our calculations will result in NaN (Not a Number). Our indicator simply cannot calculate the required value for a bar chart with a negative index. To address this problem, we could always add the following condition.
1 2 3 4 5 6 7 | |
The code of the simple moving average also has to check that index >= Periods. Moreover, if we use a nested indicator (such as another type of moving average), this condition must be different to account for all new calculations.
While you can specify boundary conditions and explore fringe cases, C# provides an easy-to-use means of avoiding this problem entirely.
Specifically, the double data type fully supports NaN arithmetics. We can demonstrate this using the example below.
1 | |
In other words, when you perform calculations in which at least one variable is of the NaN type, the result of these calculations will always be NaN.
Fortunately, all custom cTrader indicators operate on data of the DataSeries type. When you request a value of an element of a DataSeries list with a negative index, you will always receive NaN, and the value itself will not be drawn on the trading chart.
The indicator will continue operating as normal without throwing an exception. This means that, in most cases, you can safely ignore boundary conditions and implement the general calculation rules.
Recursive indicators
While NaN arithmetics simplify work with boundary conditions, there are still situations in which NaN values have to be handled explicitly. Recursive indicators constitute one such case.
When calculating a value, a recursive indicator bases its calculations on the value calculated for the previous period. Consider the following example of an exponential moving average calculation.
1 2 3 4 5 6 7 8 9 10 11 12 13 | |
If our indicator calculates a value for the first period, we have to set it explicitly to a non-NaN type. Otherwise, all our calculations for all future periods will result in NaN, and the indicator will be useless.
In the code above, this is achieved by using the double.IsNaN(previousValue) method. Please note that we cannot use the == operator (previousValue == double.IsNan) due to the fact that a NaN == x expression will always return false even if x is NaN.