Create a technical indicator in cTrader
This article outlines the steps to create custom technical indicators, including tools for algorithmic trading or manual actions in cTrader.
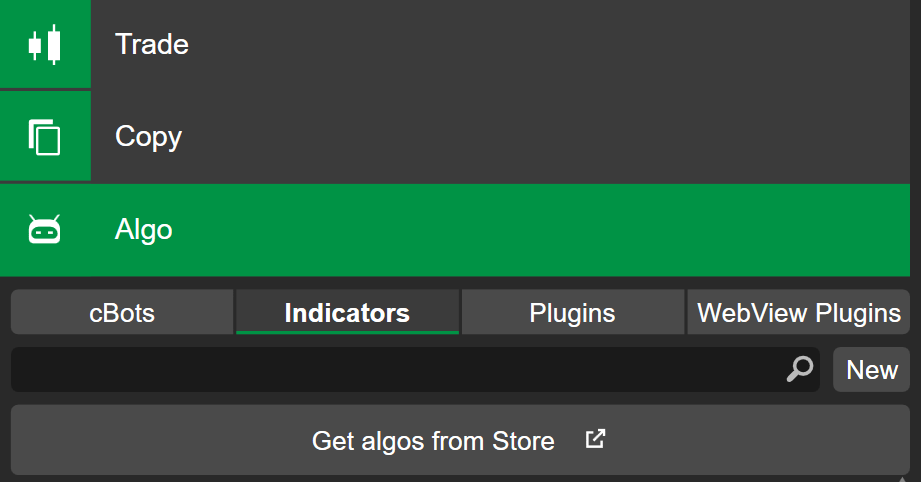
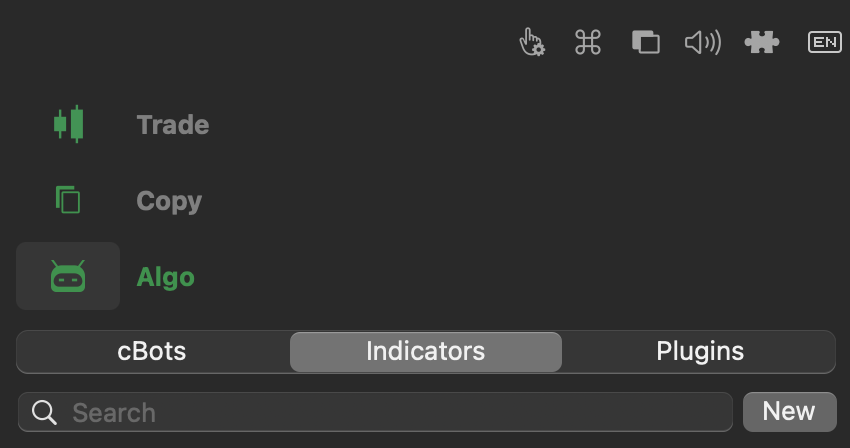
In the Indicators tab of the Algo app, click the New button to open the algorithm creation wizard.
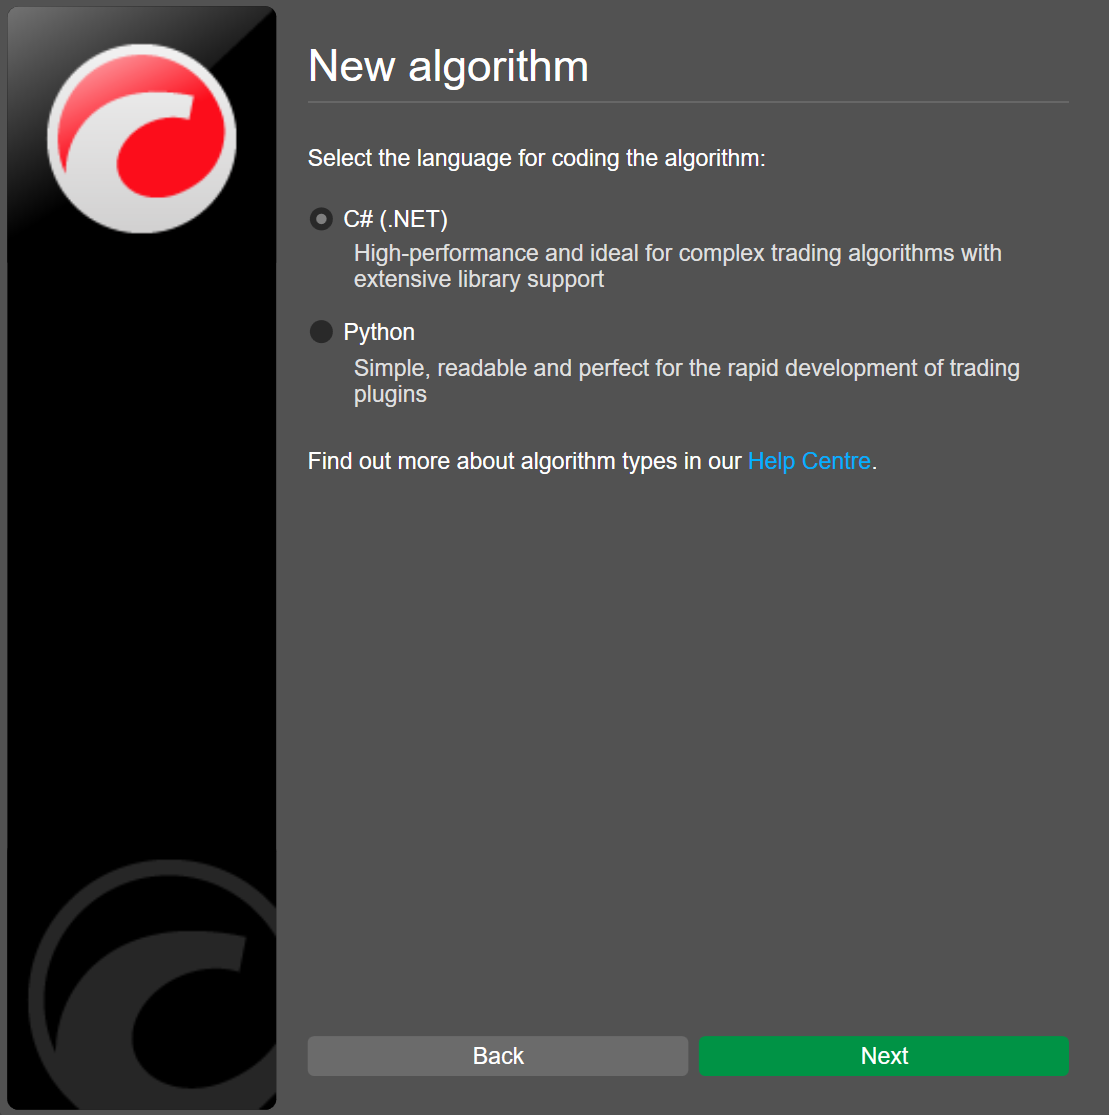
Enter a name for your indicator, then select a programming language between C# and Python.
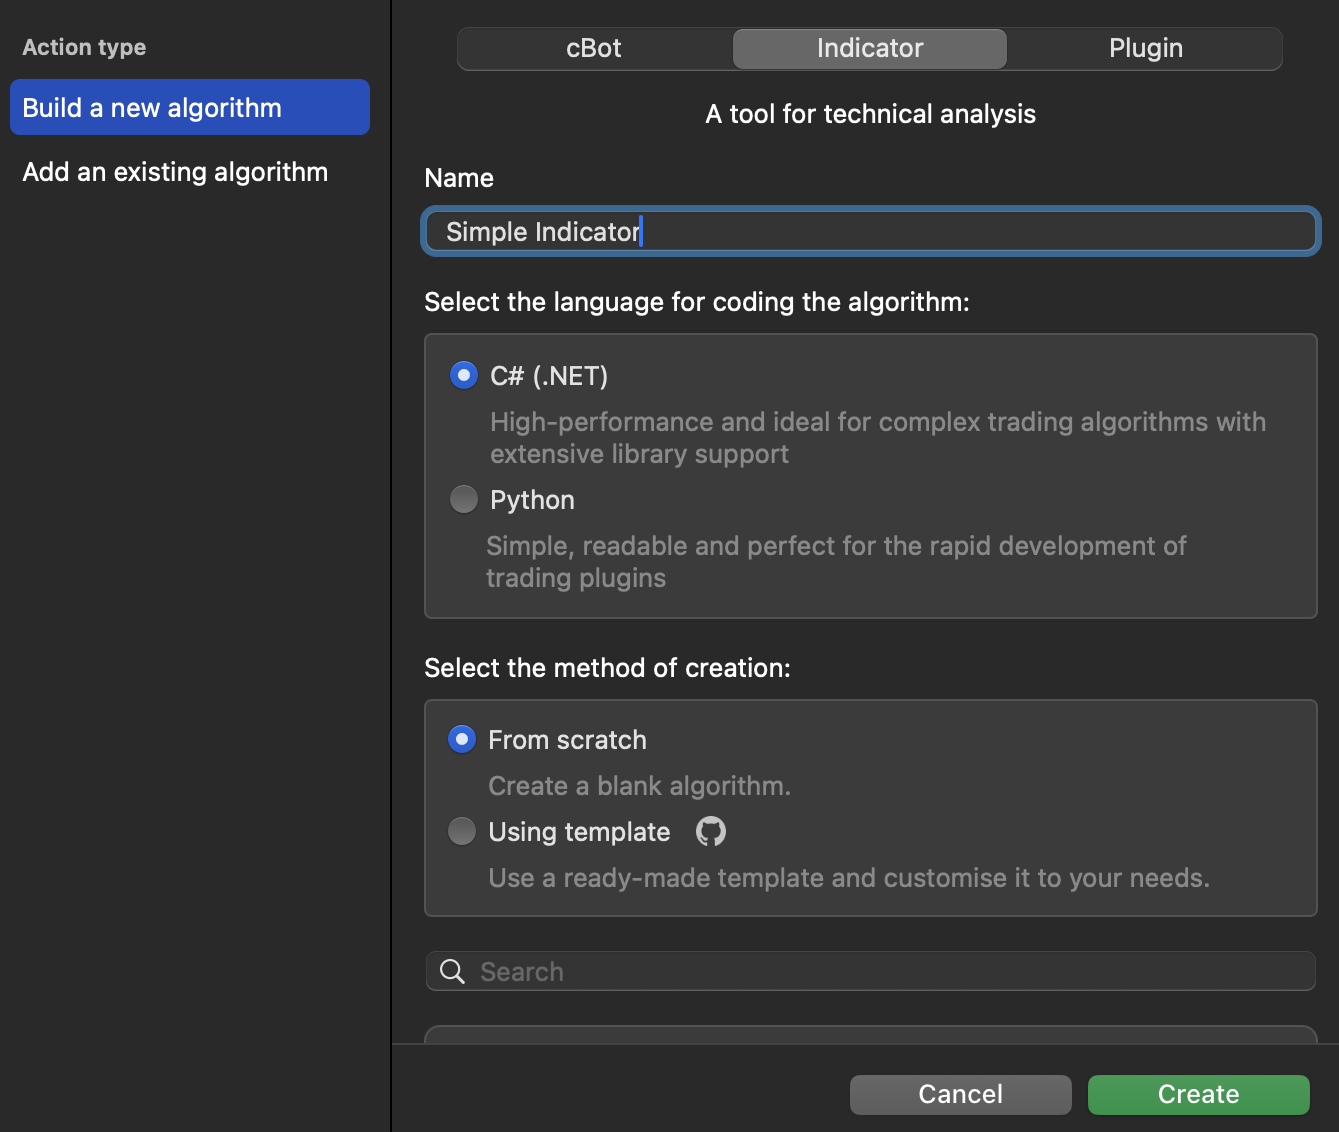
Choose a creation method from:
-
From scratch – the new indicator will contain only a basic template.
-
Using a template – you will be able to select a premade algorithm from a list of Python# or C# templates, covering a wide range of indicator types, technical analysis tools and more.
Note
Premade algorithms already contain logic for calculations and customisable parameters. Such indicators are ready to be displayed on charts once you save and build them.
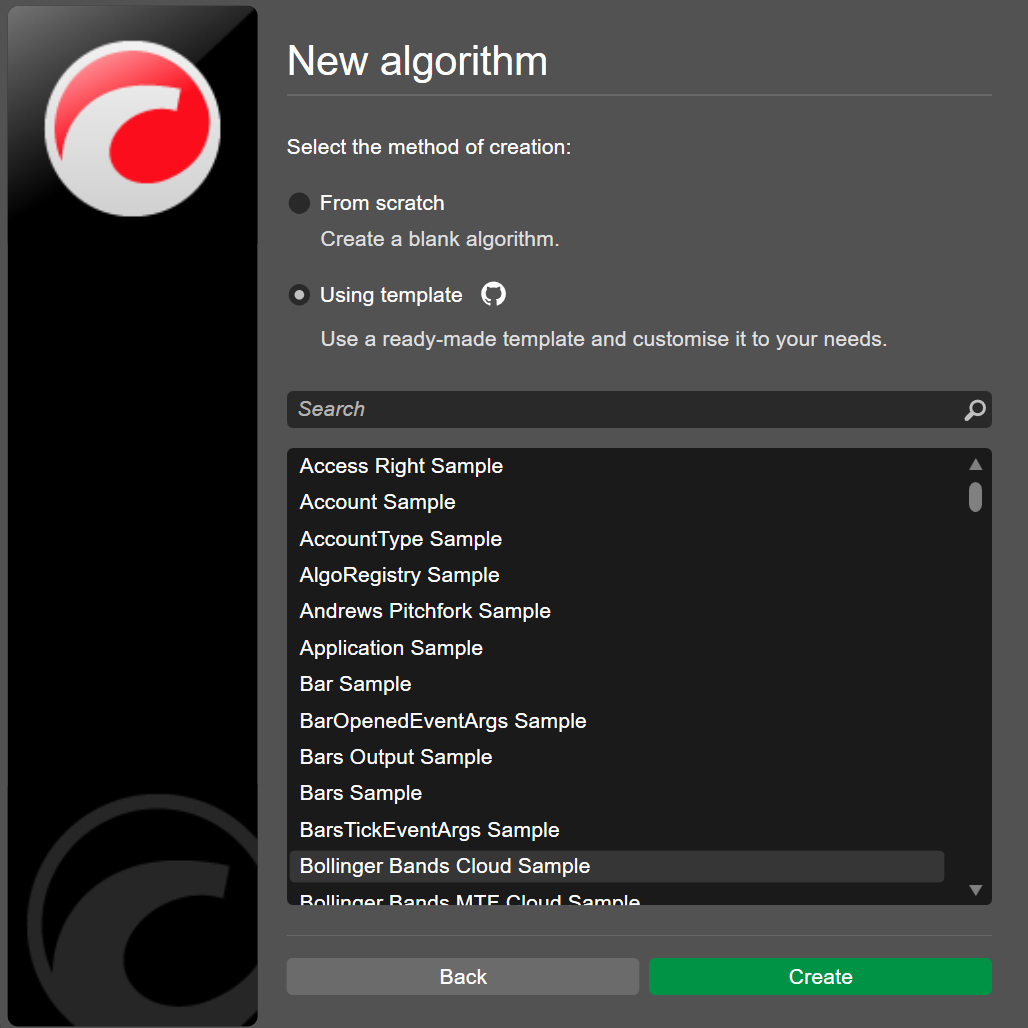
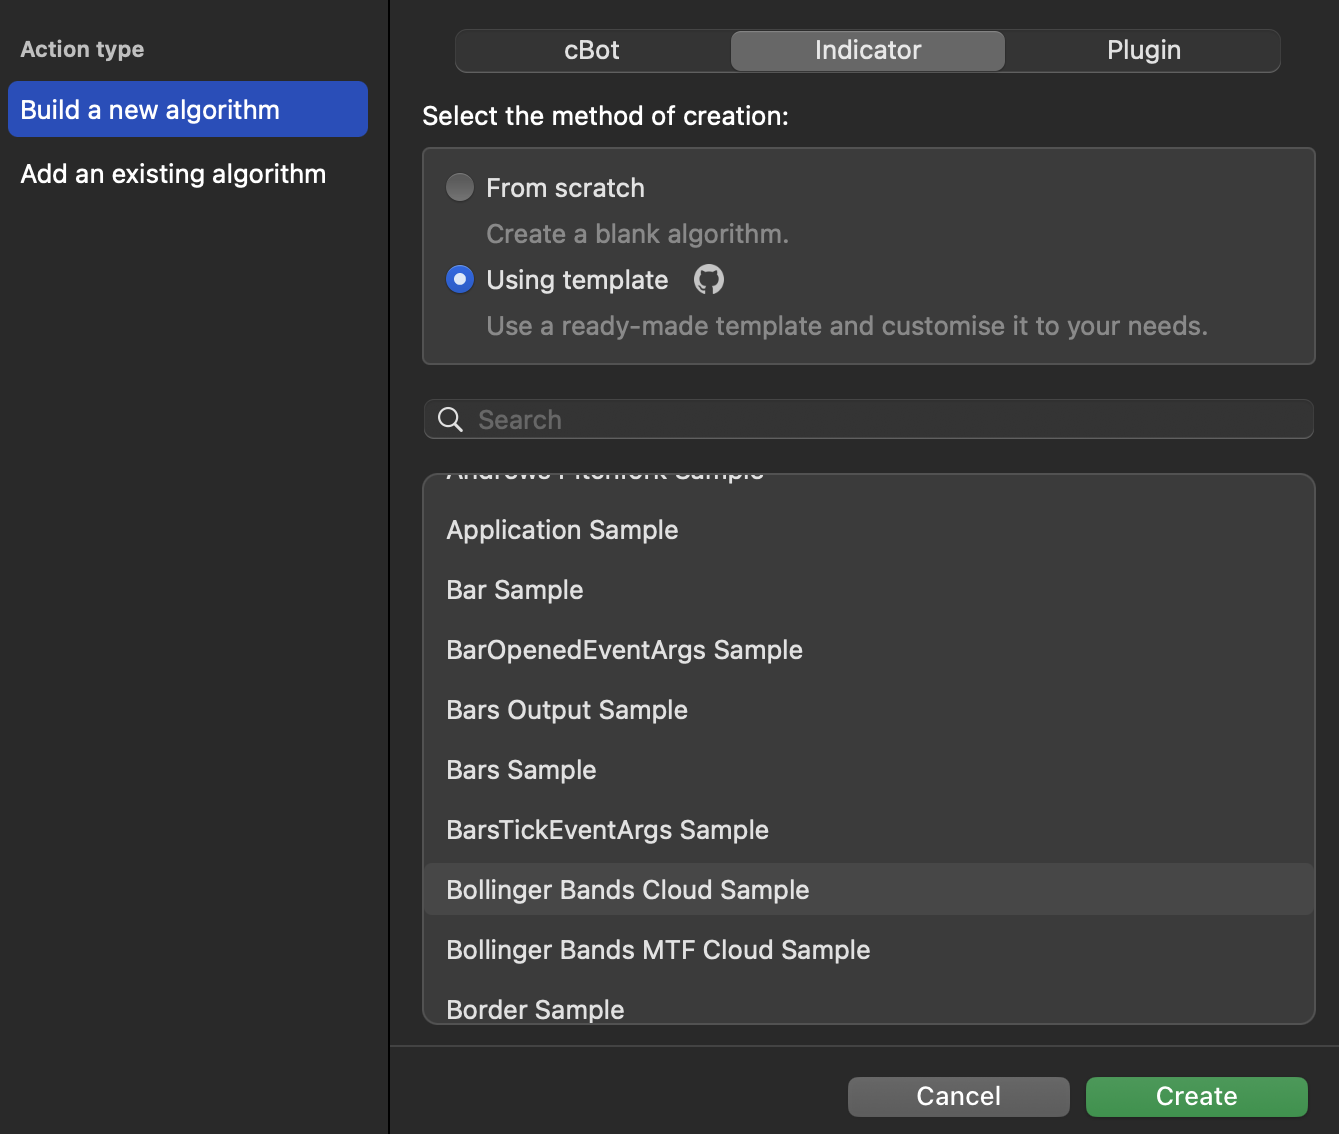
After you click Create, the code editor opens and you can start editing the indicator code.
Edit the code
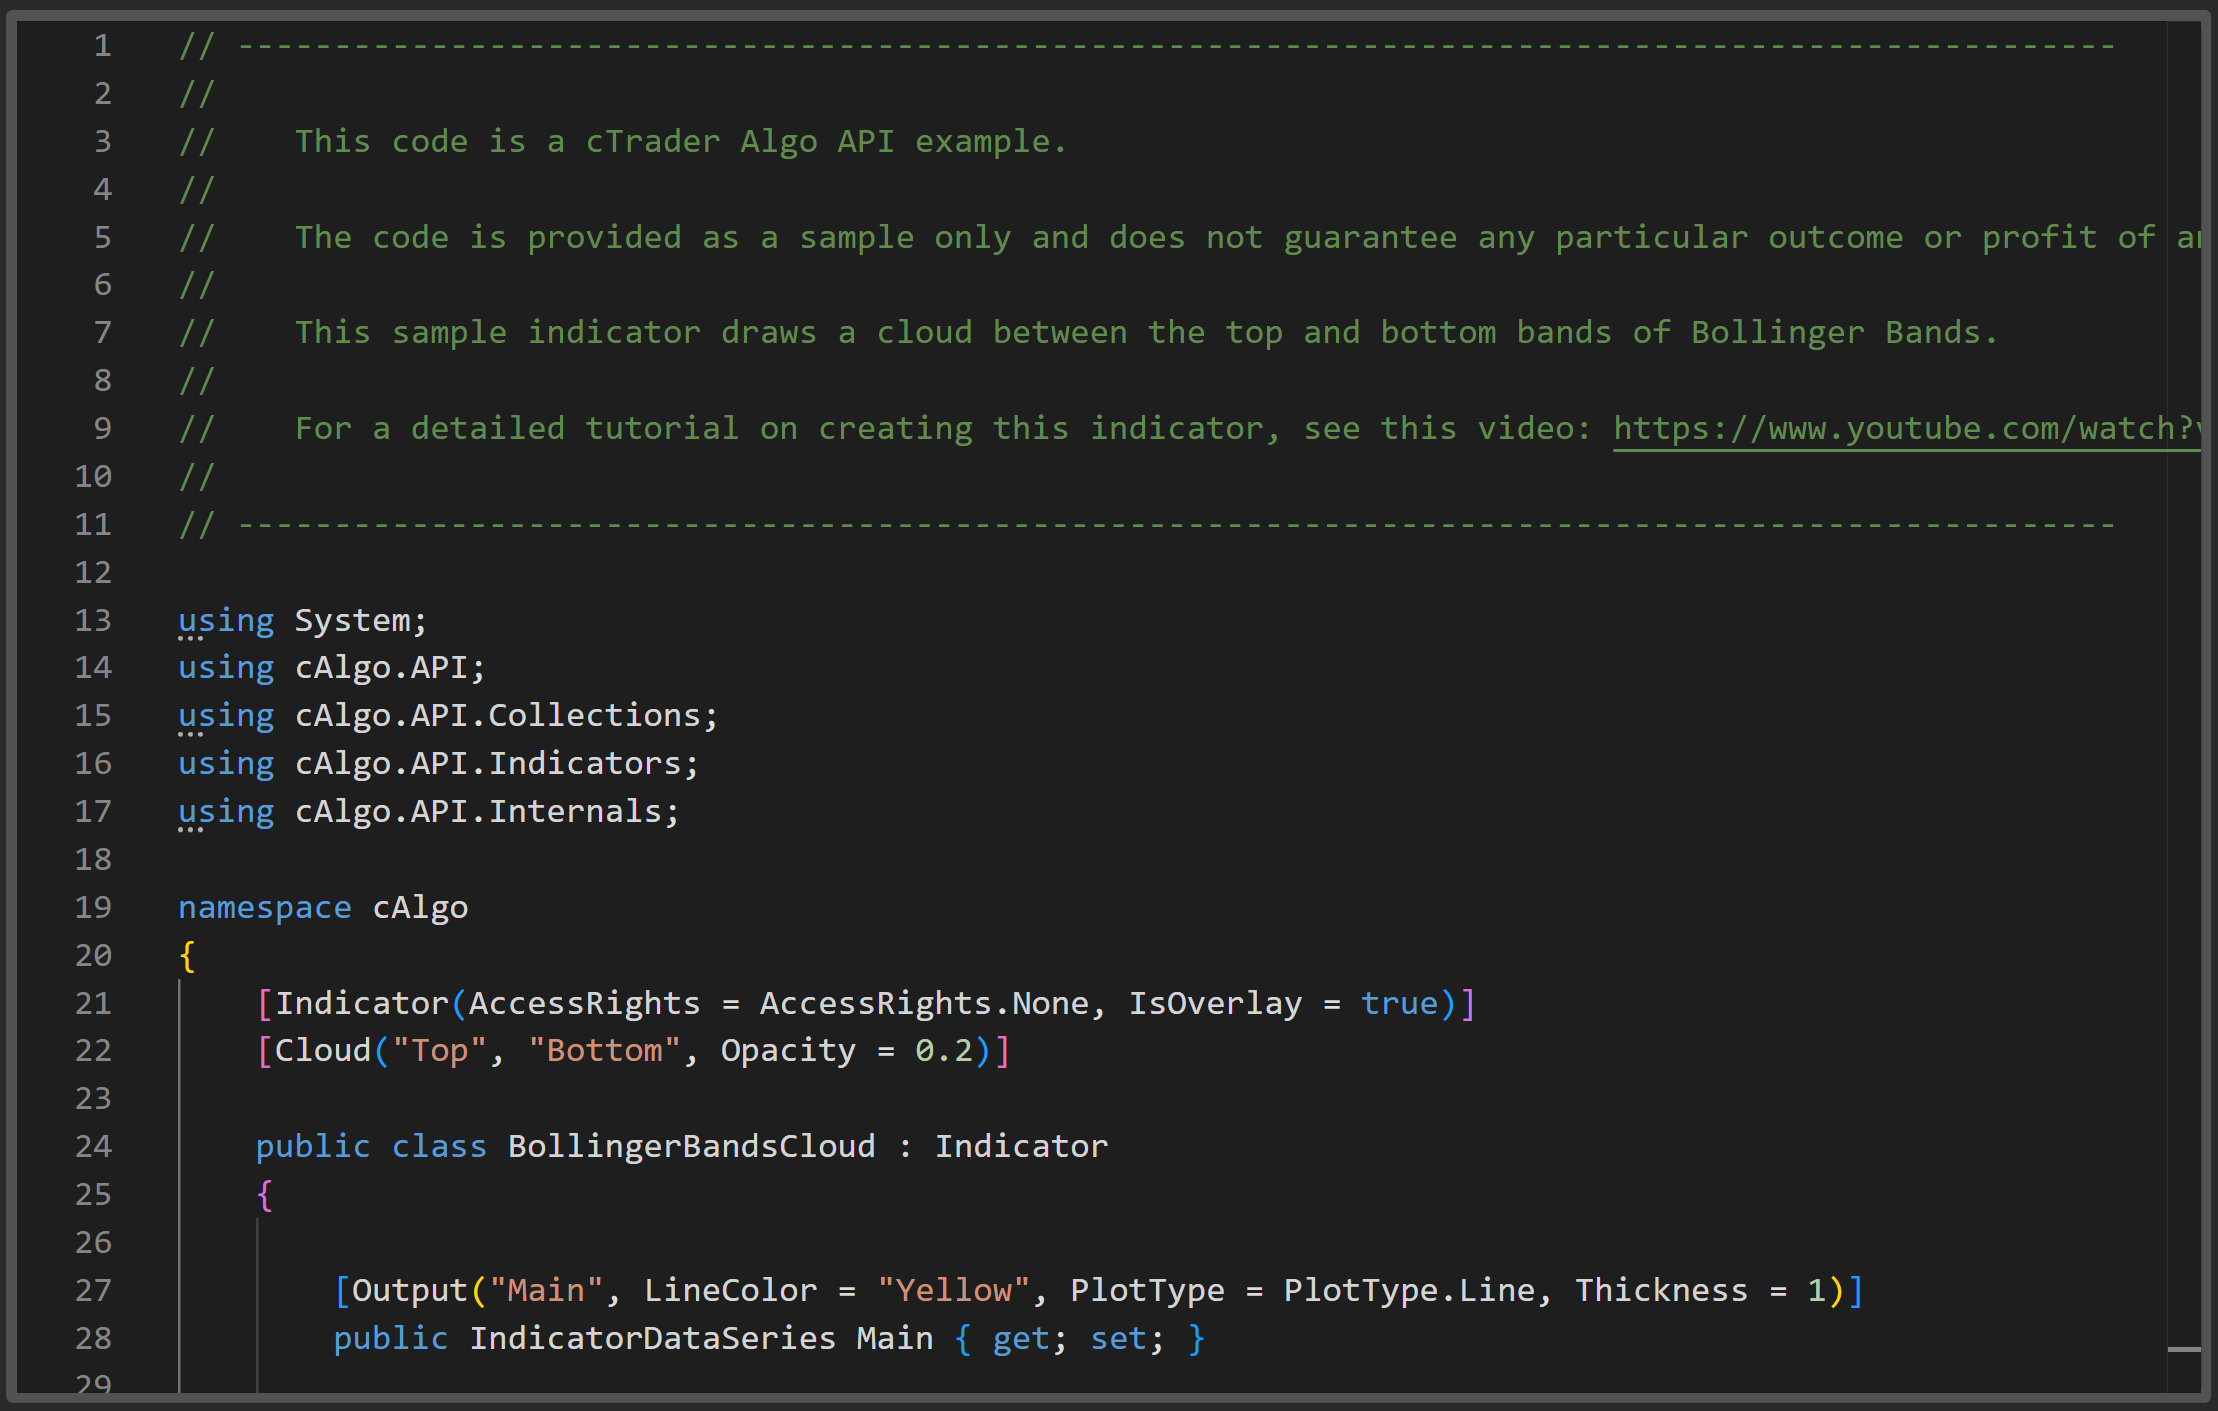
Depending on your creation method, the indicator code sample should contain one or more of the following elements:
1 2 3 4 5 6 7 8 9 10 11 12 13 14 15 16 17 18 19 20 21 22 23 24 25 26 27 28 | |
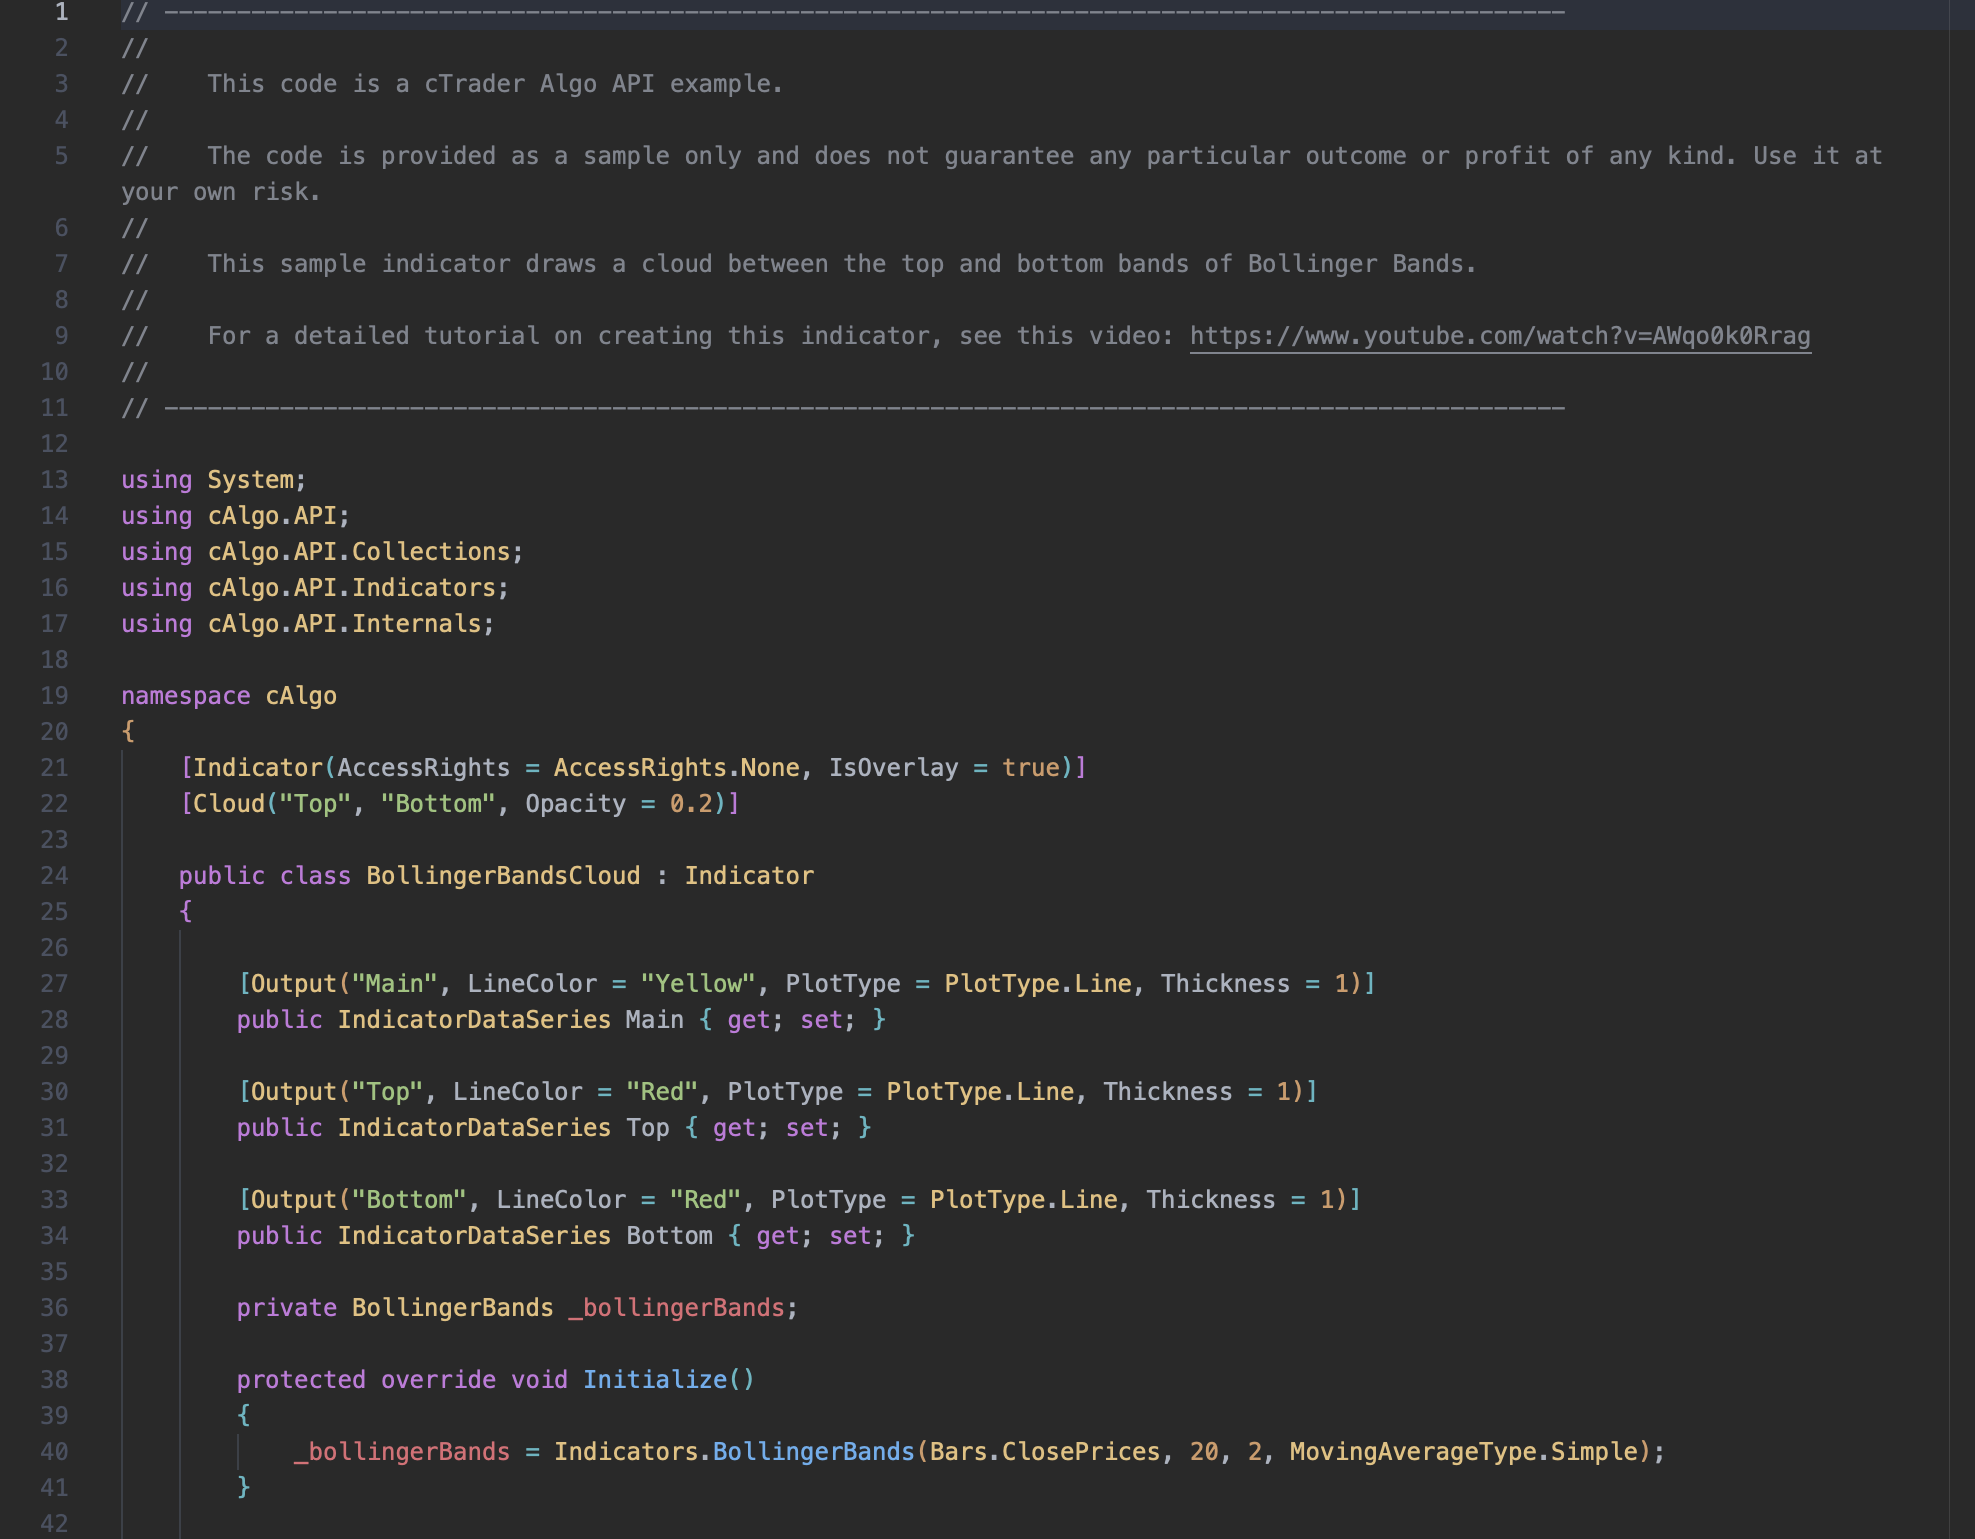
The Indicator attribute, along with its optional properties such as TimeZone and AccessRights, precedes the indicator class (SimpleIndicator) declaration.
These methods are included in every indicator by default:
- The
Initialize()method is invoked once when your indicator starts. It is typically used to set up variables, nested indicators and series that need to be ready from the beginning. - The
Calculate()method is invoked automatically on each historical bar and in real-time on every new tick. This is where you implement the indicator’s formula and define how results are calculated and displayed.
The [Output()] attribute specifies the values your indicator produces and how they appear on the chart. You can customise the name and style of each output, for example by setting its line colour.
The Initialize() and Calculate() methods form the foundation of every custom indicator and should never be omitted. You can add your own methods to extend functionality, just as you would when coding a cBot. To learn more about algorithms, begin with the C# basics guide and explore indicator code examples.
Note
References includes all classes, events, methods, variables, etc. for building algorithms in cTrader, while full algorithm examples and templates are available in a GitHub repository.
Apply your new knowledge to edit the indicator code and adapt it to your needs.
1 2 3 4 5 6 7 8 9 10 11 12 13 14 | |
The SimpleIndicator class defines a custom indicator in Python.
These methods are included in every indicator by default:
- The
initialize(self)method is invoked once when your indicator starts. It is typically used to initialise variables, nested indicators and series that need to be ready from the beginning. - The
calculate(self, index)method is invoked automatically on each historical bar and in real time on every new tick. This is where you implement the indicator’s formula and define how results are calculated and displayed.
The initialize(self) and calculate(self, index) methods form the foundation of every custom indicator and should never be omitted. You can also add your own helper methods inside the class to extend functionality, just as you would when coding a cBot. To learn more about algorithms, begin with Python basics and explore indicator code examples.
Apply your new knowledge to edit the indicator code and adapt it to your needs.
Save and build
Save your code by clicking the Save button at the top of the code editor or use the Ctrl+S shortcut.
Before you can use your indicator, you need to validate its code by building the indicator project. Click the Build button at the top of the code editor or press Ctrl+B.

Save your code by clicking the Save icon at the top of the code editor or use the Cmd+S shortcut.
Before you can use your indicator, you need to validate its code by building the indicator project. Click the Build icon at the top of the code editor or press Cmd+B.

When the build succeeds, you see a confirmation message in Build result. If the build fails, a summary of all errors encountered appears instead.
If there are changes to the code since the last build, an asterisk appears next to the Build icon. In this case, you should build the indicator again before adding an instance of it to any chart.
To use or display the indicator on a chart, add an instance of it, or you can continue modifying the indicator code as explained in the sections.
Use NaN arithmetic
Indicators perform calculations to output specific visuals, and it is essential that your code correctly handles fringe cases and boundary conditions during these calculations.
Consider the following snippet from an indicator that outputs a detrended price oscillator:
1 2 3 4 5 6 7 8 9 10 11 | |
The code above defines general calculation rules but omits boundary conditions. For example, if Periods is set to 10 and index falls within the range 0–9, the calculation will return NaN (Not a Number). This issue occurs because the indicator cannot calculate values for a bar chart with a negative index.
To address the problem, you can add a condition as shown below:
1 2 3 4 5 6 7 | |
The code for the simple moving average itself must also check that index >= Periods. If you use a nested indicator, such as another type of moving average, the condition will differ to account for additional calculations.
Although you can define explicit boundary conditions, C# offers a convenient way to avoid these issues through NaN arithmetic. Specifically, the double data type fully supports NaN calculations. For example:
1 2 3 4 5 | |
However, when any operand in a calculation is NaN, the result will also be NaN. As custom cTrader indicators operate on the DataSeries type, if you attempt to access a DataSeries element with a negative index, it will return NaN, and the value will not be drawn on the trading chart. This behaviour allows the indicator to continue operating without throwing exceptions. In most cases, you can safely ignore boundary conditions and focus only on the general calculation logic.
Add explicit checks
While NaN arithmetic simplify handling boundary conditions, some cases still require explicit NaN checks. Recursive indicators are a common example. A recursive indicator calculates its current value based on the previously calculated value.
Consider the following implementation of an exponential moving average:
1 2 3 4 5 6 7 8 9 10 11 12 13 | |
When the indicator calculates the first period, the initial value must be explicitly set to a non-NaN type. Otherwise, all subsequent calculations will return NaN, rendering the indicator useless.
In the code above, this is handled with the double.IsNaN(previousValue) method. The == operator cannot be used for this check (previousValue == double.NaN) because any comparison of NaN with another value, including itself, always evaluates to false.
When you are satisfied with the indicator code, build it, then use it by adding an instance to a chart.
