Plugins make it easy to create new sections containing website pages or other WebView components, calculators, analytics or data boards, AI tools, etc. in Active Symbol Panel (ASP).
In this article and its corresponding video, we will show you how to add a new section in Active Symbol Panel using a plugin.
Create a plugin
Create a WebView section
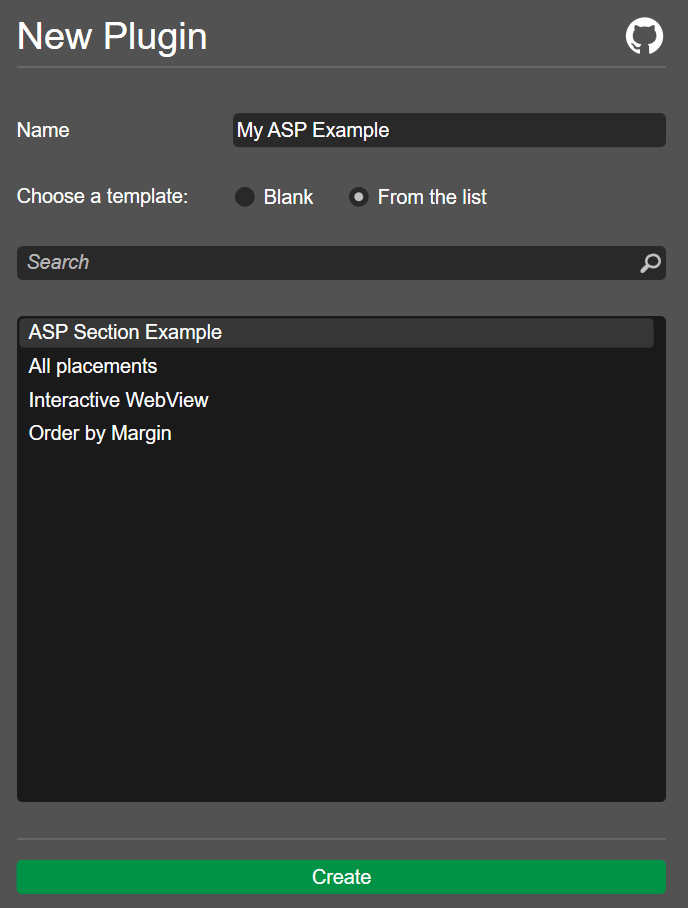
Go to the Algo app and navigate to the Plugins tab. Click the New button to create a new plugin. Tick the From the list option and select ASP Section Example. Give your plugin a name, such as "My ASP Example".
Click the Create button.
When the code editor appears, replace the "My title" part of the code with the name you chose for the plugin.
1
varblock=Asp.SymbolTab.AddBlock("My ASP Example");
You can copy the full code below:
1 2 3 4 5 6 7 8 9101112131415161718192021
usingcAlgo.API;namespacecAlgo.Plugins{[Plugin(AccessRights = AccessRights.None)]publicclassMyASPExample:Plugin{protectedoverridevoidOnStart(){varblock=Asp.SymbolTab.AddBlock("My ASP Example");block.Index=2;block.Height=500;block.IsExpanded=true;varwebView=newWebView();block.Child=webView;webView.NavigateAsync("https://ctrader.com/");}}}
Click the Build button or press Ctrl+B to build the plugin.
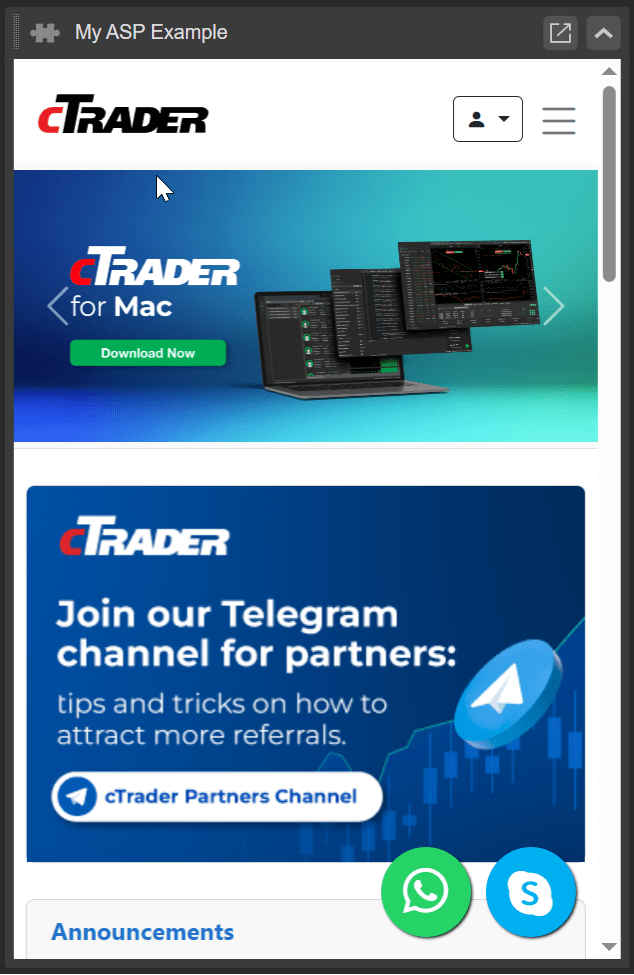
Navigate to the Trade app again to see what the plugin is showing in Active Symbol Panel. In our case, we now have a WebView component displaying the cTrader forum.
Create a VWAP box
For this example, we will replace the WebView with a box that displays the Volume-Weighted Average Price (VWAP) of the currently open positions.
Return to the plugin code and delete the WebView section.
Set the block height to 100.
1
block.Height=100;
Define two text blocks that will display the relevant information.
usingcAlgo.API;namespacecAlgo.Plugins{[Plugin(AccessRights = AccessRights.None)]publicclassMyASPExample:Plugin{TextBlock_txtBuyVWAP;TextBlock_txtSellVWAP;protectedoverridevoidOnStart(){varblock=Asp.SymbolTab.AddBlock("ASP Section Example");block.Index=2;block.Height=100;block.IsExpanded=true;varpanel=newStackPanel{Orientation=Orientation.Vertical};_txtBuyVWAP=newTextBlock{Text="Buy Text Box"};_txtSellVWAP=newTextBlock{Text="Sell Text Box"};panel.AddChild(_txtBuyVWAP);panel.AddChild(_txtSellVWAP);block.Child=panel;}}}
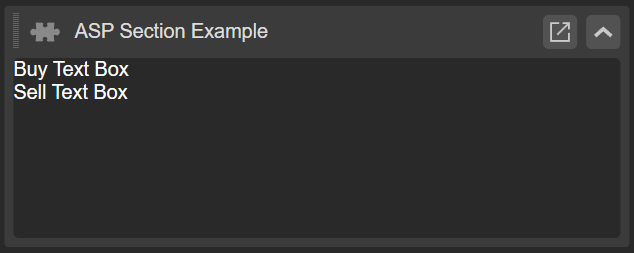
Build the plugin and then go to the Trade app.
You should see two text boxes in place of the WebView component.
Refine the plugin
Add logic for the plugin
Go to the plugin code and add the following namespaces:
12
usingSystem;usingSystem.Linq;
Implement the logic that calculates the VWAP for buy and sell directions.
Build the plugin again and go to the Trade app. Now, as you add new buy and sell positions, you should see the VWAP update itself automatically.
Add styles for the plugin
We can add some style to the VWAP box.
1 2 3 4 5 6 7 8 9101112131415161718192021
vartextBoxStyle=newStyle();textBoxStyle.Set(ControlProperty.Margin,5);textBoxStyle.Set(ControlProperty.FontFamily,"Cambria");textBoxStyle.Set(ControlProperty.FontSize,16);textBoxStyle.Set(ControlProperty.Width,200);textBoxStyle.Set(ControlProperty.ForegroundColor,Color.Yellow,ControlState.Hover);_txtBuyVWAP=newTextBlock{ForegroundColor=Color.Green,Text="Buy Text Box ",Style=textBoxStyle};_txtSellVWAP=newTextBlock{ForegroundColor=Color.Red,Text="Sell Text Box",Style=textBoxStyle};
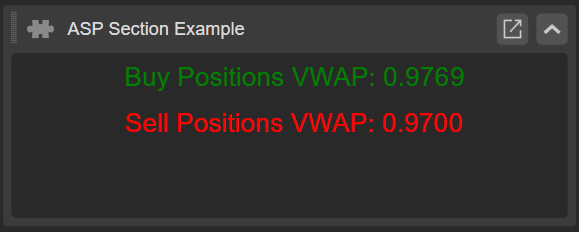
Lastly, go to the Trade app to see how styles have changed the VWAP box.
Summary
We hope this article has been helpful in showing you how to add webpages and WebView components, text blocks, and other useful objects to the Active Symbol Panel.