The Windows Presentation Foundation (WPF) is a Window UI solution that is a part of .NET. Originally developed in 2006, it was intended as a successor to WinForms. For additional information, consult its official documentation.
WPF allows for creating rich and sophisticated UI. It separates the code from the UI by using XAML, an XML-based language developed by Microsoft. cTrader Windows is a WPF application and all UI elements you are seeing are powered by this solution.
The use of WPF allows for developing near pixel-perfect feature-rich UI. However, WPF has a steep learning curve. If you want to create relatively simple UI elements, you may want to use chart controls or WinForms.
Note
Algos using WinForms or WPF can only be run on Windows machines.
To use WPF with cBots/indicators, change your cTrader compiler from the embedded compiler to the .NET SDK compiler.
Similarly to WinForms, before you can use WPF with your cBots/indicators, you will have to make some changes to your indicator/cBot project file. As WPF only works on Windows, you will have to change the target of your indicator/cBot framework of your project to the Windows 'flavour' of .NET.
To do so, open your project file in Visual Studio and replace its contents with the following.
We have added the UseWpf tag and changed the value of TargetFramework to net6.0-windows.
Afterward, change the value of the AccessRights class parameter to FullAccess. Unless this change is made, your extension will not have sufficient access rights to operate with WPF.
Rebuild your project after making the above changes.
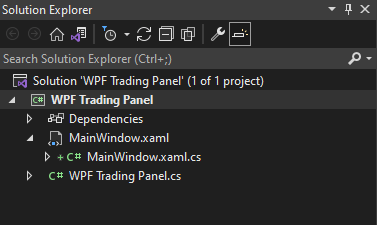
When you add a new WPF window, it will use the namespace of your indicator/cBot (e.g., cAlgo). In the .cs file containing the window backend code, change it to WPF_Test and make sure it matches your using statement in the indicator code.
Rebuild the indicator either from Visual Studio or using cTrader Algo.
After the build process is finished, create an indicator instance. You should see your custom window appear almost immediately upon launch.
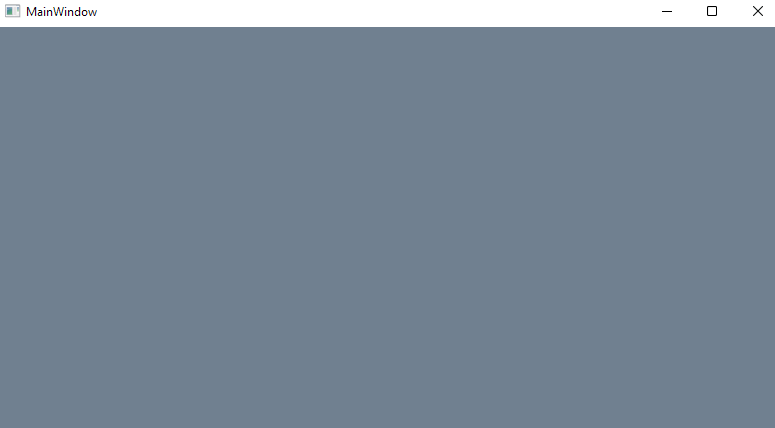
Rebuild your code using Visual Studio and create an instance of your cBot. Run it, and the following window should appear.
In the window, select a symbol from the symbols list and click on 'Execute'. While our trading panel is a bit simple, it works as intended. You can use it as a template for creating complex WPF controls.
The code in the .xaml.cs file for our window is responsible for sending instructions to our cBot. When developing backend code for your windows, follow these guidelines.
Create a service for managing interactions with a cBot/indicator using the BeginInvokeOnMainThread() method.
If you are building complex WPF controls, use MVVM, IoC, and separate your business logic components from the UI (e.g., by using Prism)
You cannot change the ApartmentState property of an already running thread. Because the main cBot/indicator threat is not STA-marked, you have to use a new STA-marked thread for WinForms and WPF.
As we have explained before, you have to use a separate dedicated thread to run your WPF controls. Only the code executing on this thread will be able to access the window controls and properties.
The same is true for all algo API members. As the API is not thread safe, you cannot access API members from the UI thread. Instead, you have to dispatch the work by using the BeginInvokeOnMainThread() method in your indicator/cBot code.
This may create complications if you want to exchange data between your indicator/cBot and a WPF window. To resolve this issue, you may create a 'proxy' class to manage the interactions between your cBot/indicator and UI-related threads.