This article and video offer step-by-step instructions for creating a trading robot in Python.
Note
cTrader is the only major trading platform with native Python support, allowing you to write code in Python and build bots, technical indicators and tools directly in cTrader Windows or Mac. No adapter or complex workaround required.
Create a trading robot
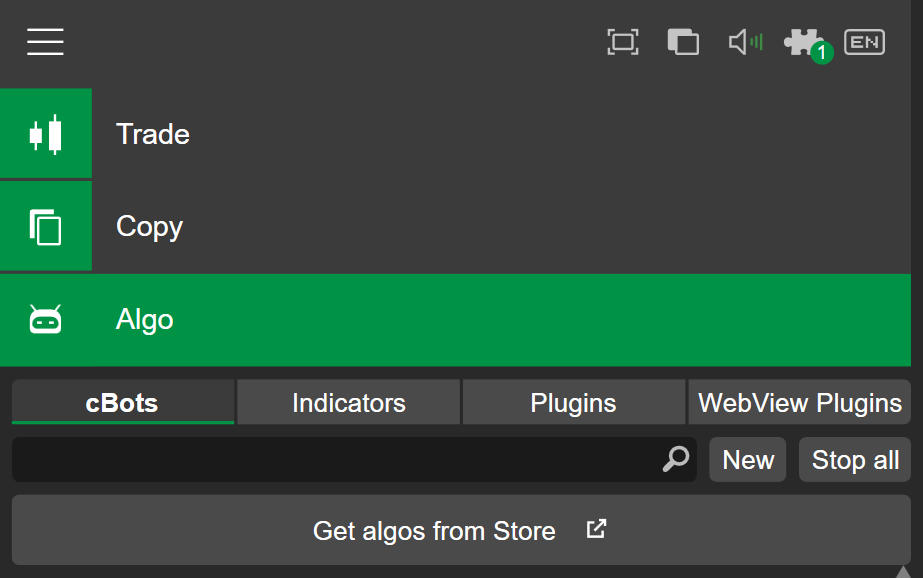
In the cBots tab of the Algo app, click the New button to start creating a new trading bot.
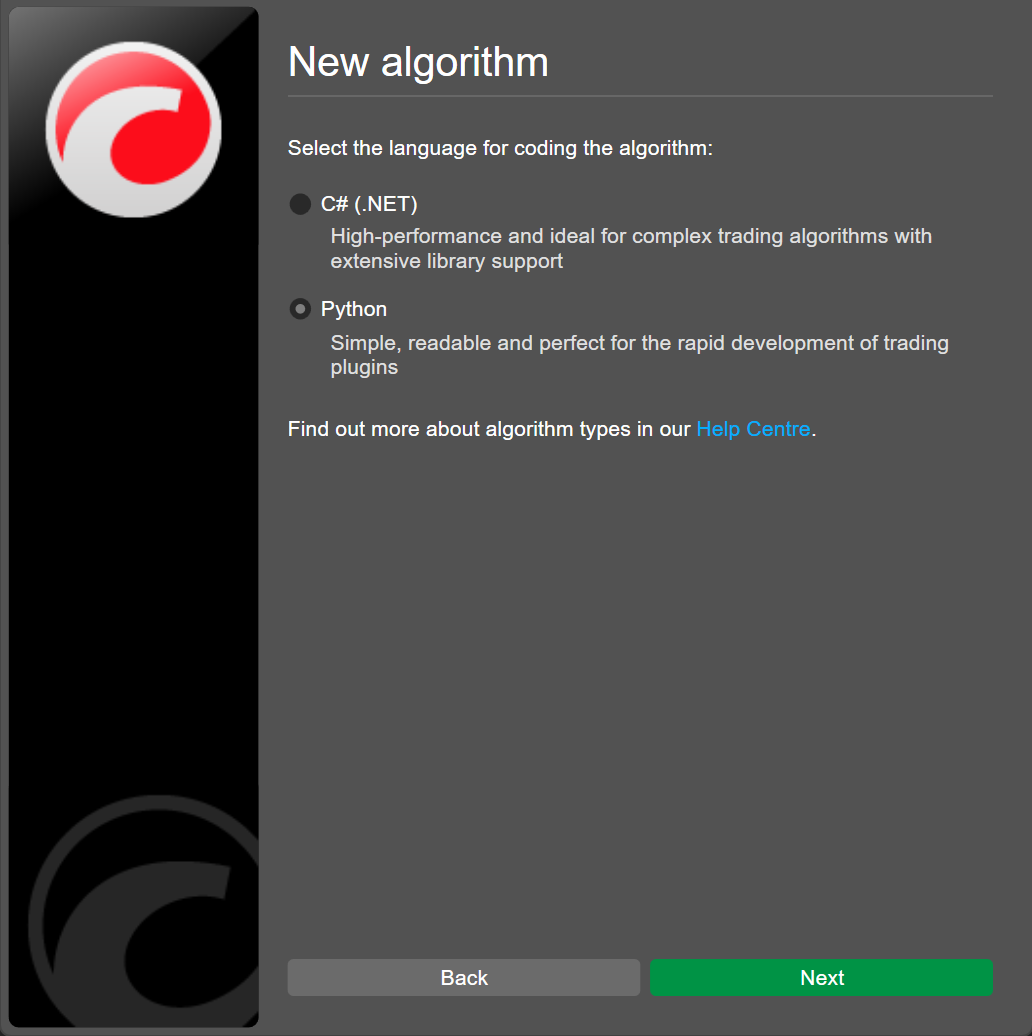
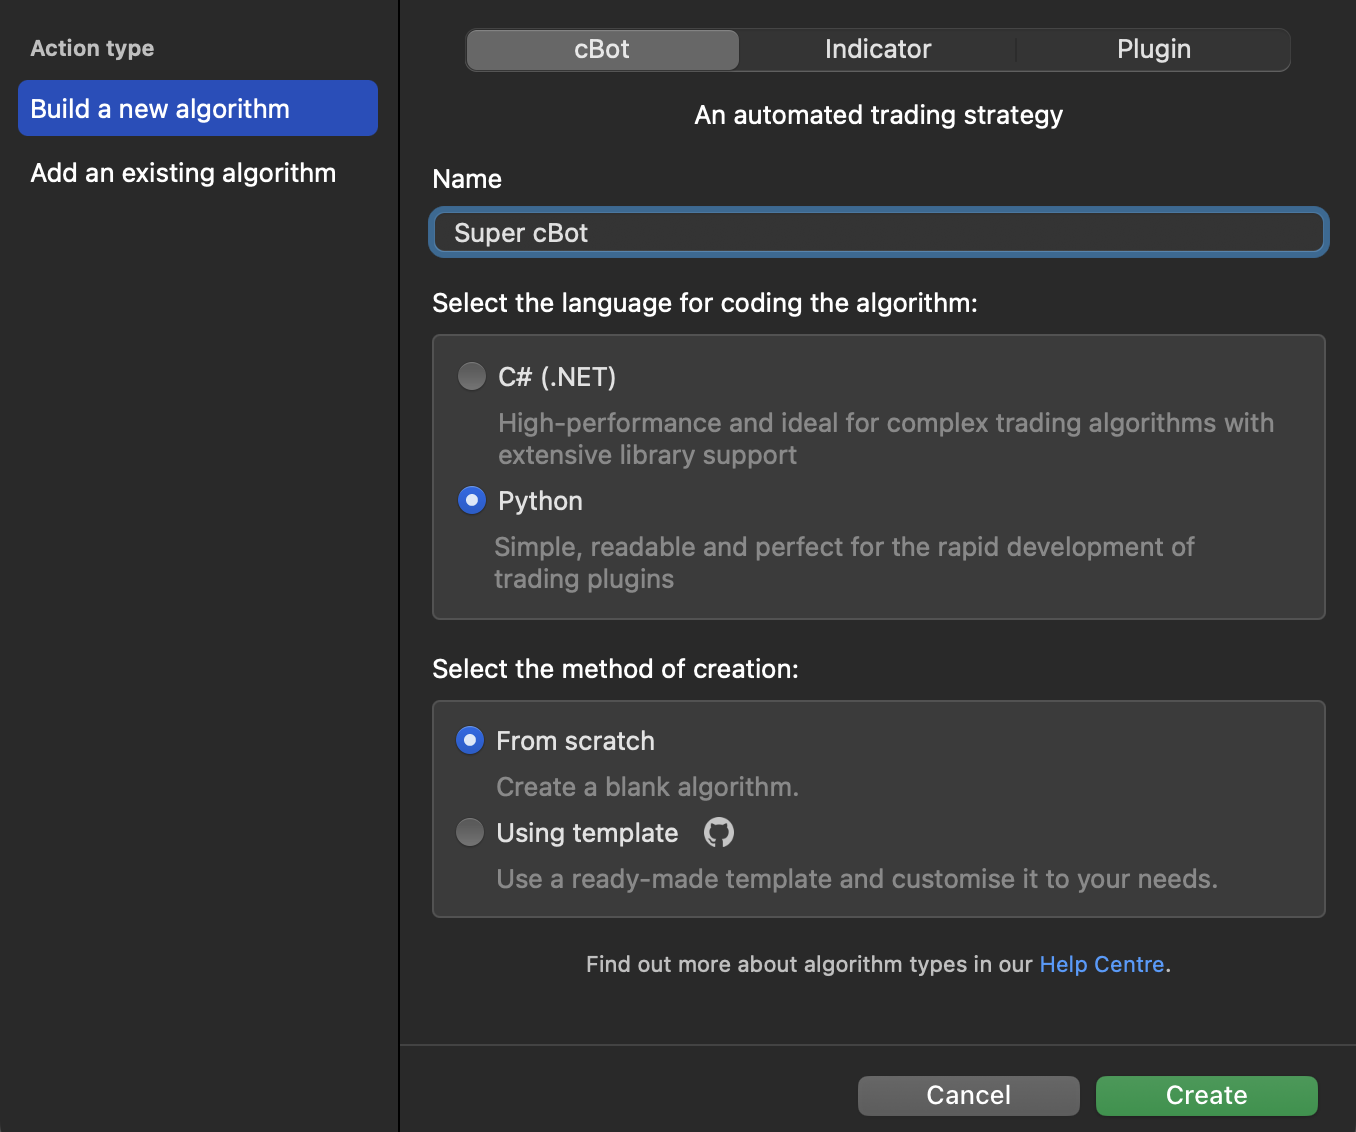
Give the cBot a name and select Python as the programming language.
Note
cTrader provides several premade algorithms in Python covering a wide range of strategies and automated trading actions. These algorithm templates already contain trading logic and customisable parameters and are ready to run once you save and build them.
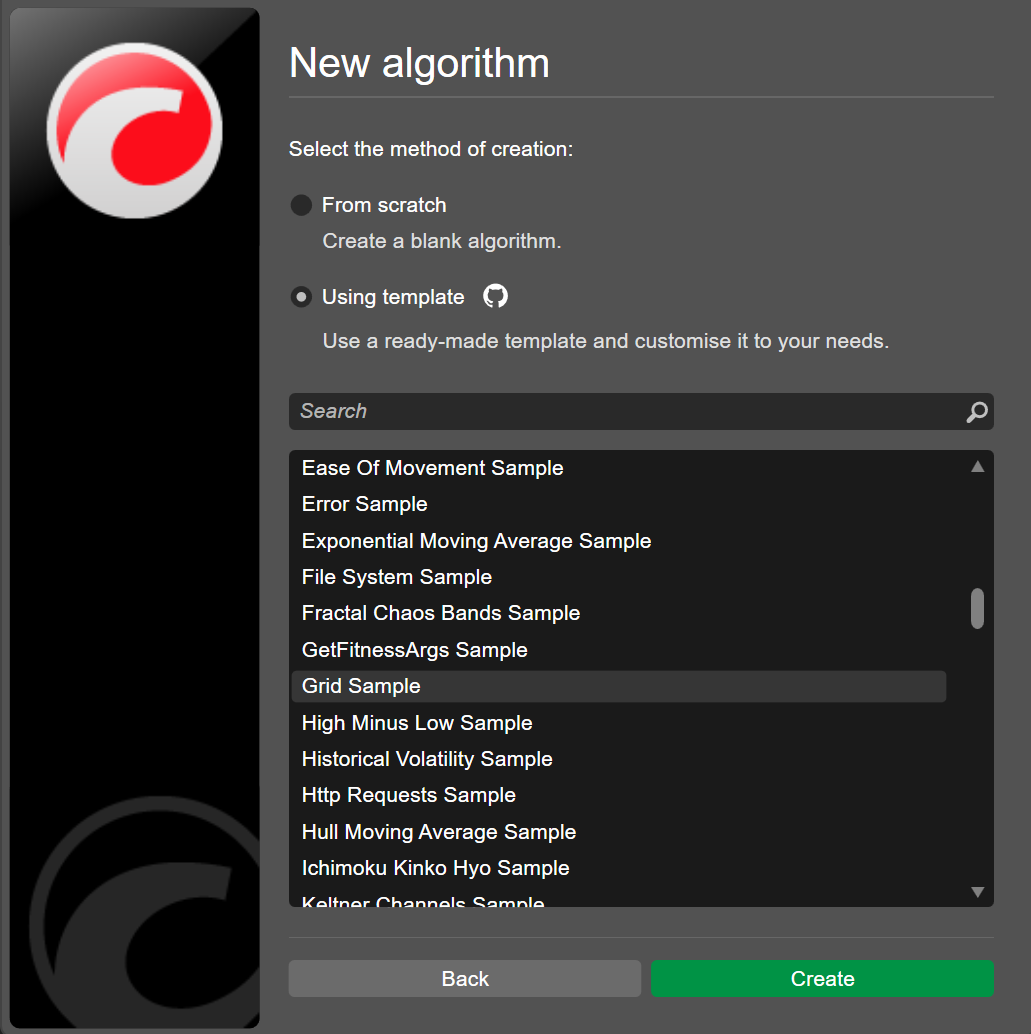
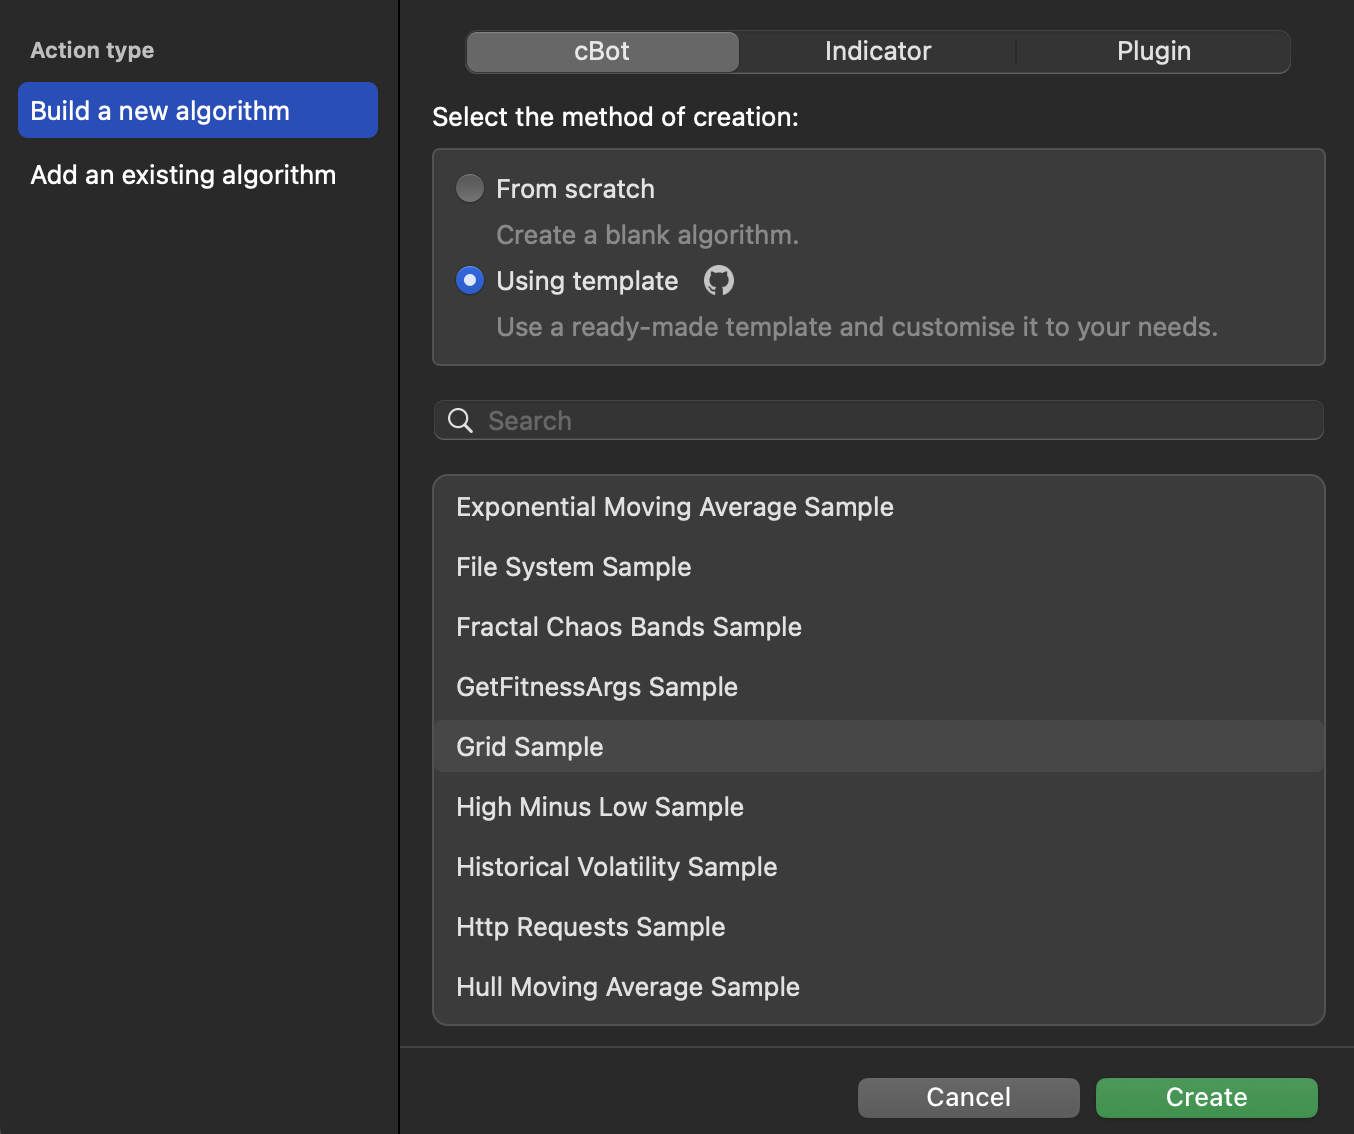
Select Using template as the creation method, choose Grid Sample, then click Create.
The Grid cBot implements a grid trading strategy where multiple buy or sell orders for a symbol are placed at regular price intervals or steps, resulting in a grid of positions.
Let's incorporate an indicator into our trading bot to improve its accuracy.
The Relative Strength Index (RSI) is a popular indicator that signals overbought or oversold conditions in the market. This indicator can help our cBot avoid opening new positions when the market is stretched in one direction.
Integrate RSI into the robot logic. Initialise the indicator with a default period of 14 and set the overbought and oversold levels to 70 and 30 respectively. Use the closing prices of the symbol to create the RSI.
Add the logic to check whether the RSI conditions allow a trade before opening a position. If the filter blocks the trade, log a message showing the current RSI value.
Write the code that ensures that grid position is opened only if the price has moved enough and the RSI value is within a neutral range. Use the last closed bar RSI value for stability and print a message when blocked by the RSI filter.
1 2 3 4 5 6 7 8 9101112131415
ifdistance>=api.StepPips:# self.open_position()ifself.passes_rsi_filter():self.open_position()else:api.Print("RSI filter: no new entry (RSI={:.2f}, range {}-{})".format(self.get_rsi_value(),self.rsi_oversold,self.rsi_overbought))defget_rsi_value(self):# Use the last CLOSED bar for stabilityreturnself.rsi.Result.Last(1)defpasses_rsi_filter(self):r=self.get_rsi_value()return(r>self.rsi_oversold)and(r<self.rsi_overbought)
Adjust the calculation logic for distance in pips between the current market price and a position's entry price.
importclrclr.AddReference("cAlgo.API")# Import cAlgo API typesfromcAlgo.APIimport*# Import trading wrapper functionsfromrobot_wrapperimport*classSupercBot():defon_start(self):self.volumeInUnits=api.Symbol.QuantityToVolumeInUnits(api.VolumeInLots)self.enoughMoney=Trueself.rsi_period=getattr(api,"RsiPeriod",14)self.rsi_overbought=getattr(api,"RsiOverbought",70)self.rsi_oversold=getattr(api,"RsiOversold",30)self.rsi=api.Indicators.RelativeStrengthIndex(api.Bars.ClosePrices,self.rsi_period)iflen(self.get_grid_positions())==0:ifself.passes_rsi_filter():self.open_position()else:api.Print("RSI filter blocked initial entry (RSI={:.2f})".format(self.get_rsi_value()))defon_tick(self):grid_positions=self.get_grid_positions()net_profit_sum=sum([p.NetProfitforpingrid_positions])ifnet_profit_sum>=api.TargetProfit:api.Print("Target profit is reached. Closing all grid positions")self.close_grid_positions()api.Print("All grid positions are closed. Stopping cBot")api.Stop()iflen(grid_positions)>0andself.enoughMoney==True:position_with_highest_pips=sorted(grid_positions,key=lambdapos:pos.Pips,reverse=True)[0]distance=self.get_distance_in_pips(position_with_highest_pips)ifdistance>=api.StepPips:ifself.passes_rsi_filter():self.open_position()else:api.Print("RSI filter: no new entry (RSI={:.2f}, range {}-{})".format(self.get_rsi_value(),self.rsi_oversold,self.rsi_overbought))defget_rsi_value(self):# Use the last CLOSED bar for stabilityreturnself.rsi.Result.Last(1)defpasses_rsi_filter(self):r=self.get_rsi_value()return(r>self.rsi_oversold)and(r<self.rsi_overbought)defget_grid_positions(self):return[posforposinapi.Positionsifpos.SymbolName==api.SymbolNameandpos.TradeType==api.TradeType]defopen_position(self):result=api.ExecuteMarketOrder(api.TradeType,api.SymbolName,self.volumeInUnits,"Grid")ifresult.Error==ErrorCode.NoMoney:self.enoughMoney=Falseapi.Print("Not enough money to open additional positions")defclose_grid_positions(self):forpositioninself.get_grid_positions():position.Close()iflen(self.get_grid_positions())>0:self.close_grid_positions()defget_distance_in_pips(self,position):ifposition.TradeType==TradeType.Buy:diff=position.EntryPrice-api.Symbol.Askelse:diff=api.Symbol.Bid-position.EntryPricereturndiff/api.Symbol.PipSize
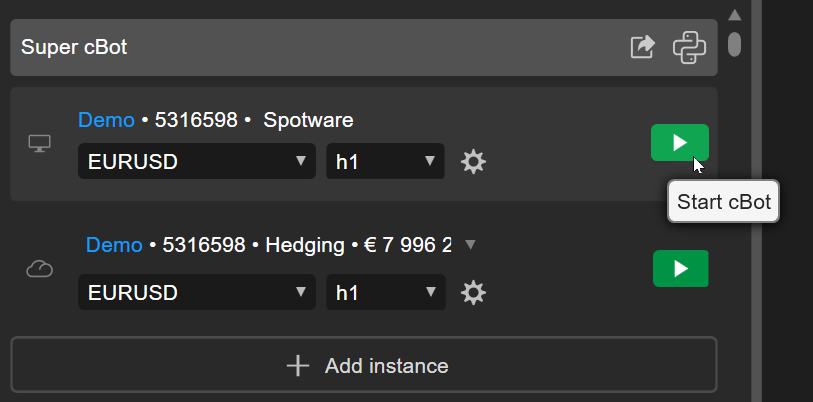
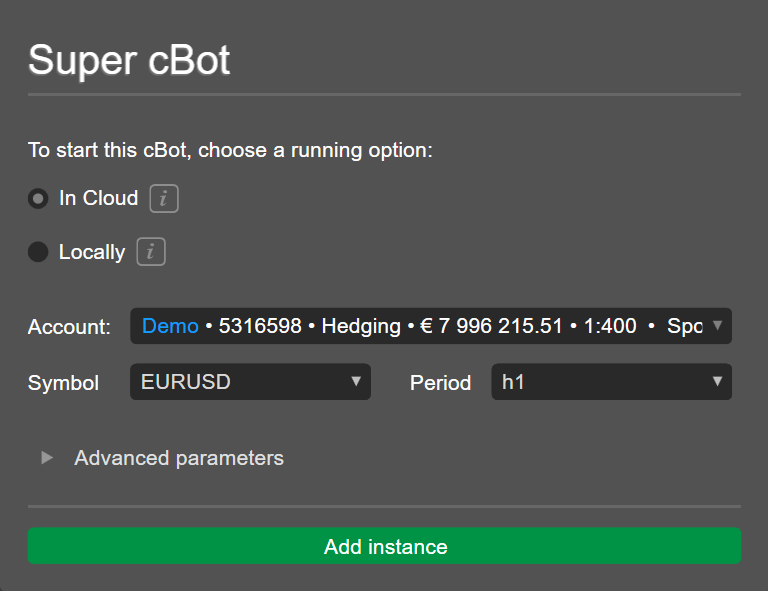
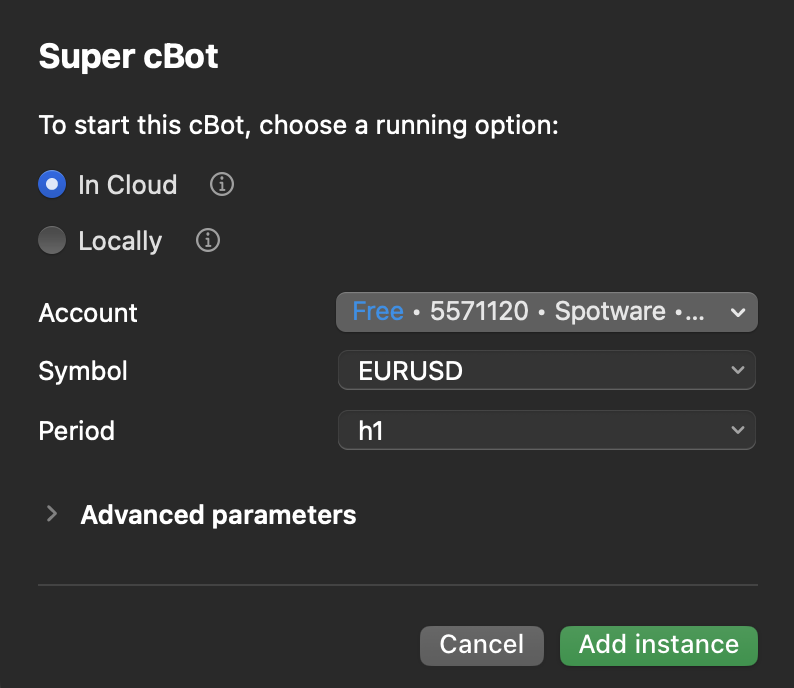
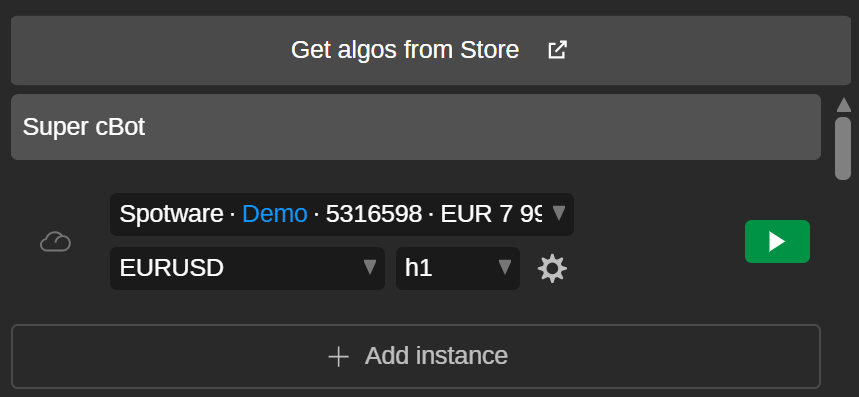
Start an instance
Let's return to our cBot and build it. Now, click the Start cBot icon for any instance, and the trading bot will begin running.
Alternatively, you can click Add instance, specify your preferred instance parameters, add the new instance and start it.
By adding and customising new instances, you can run the cBot simultaneously on different symbols, periods or parameters.
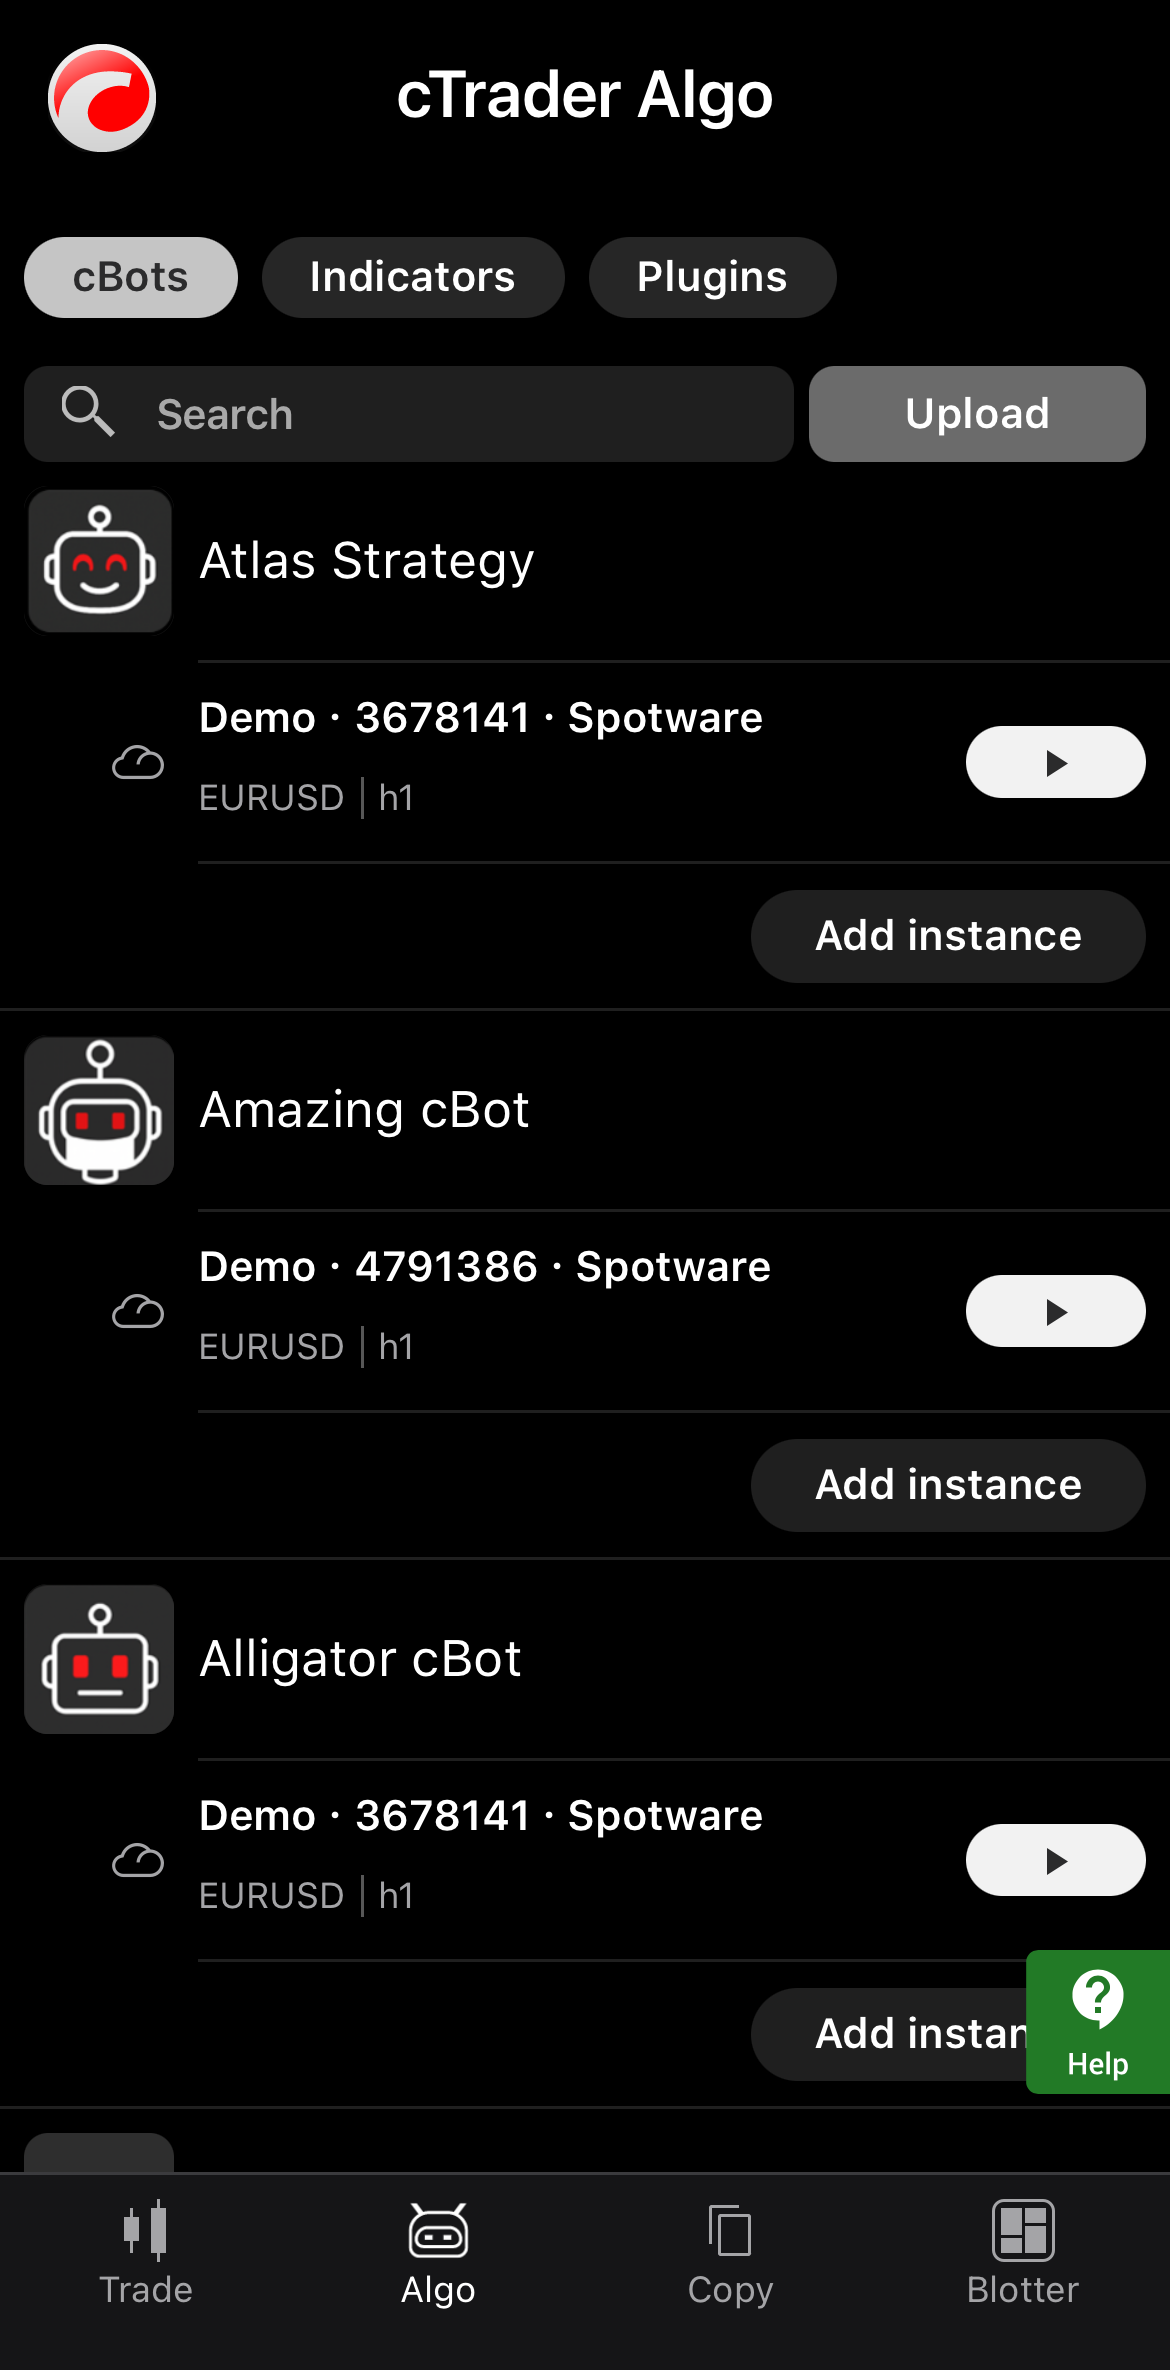
Run the bot elsewhere
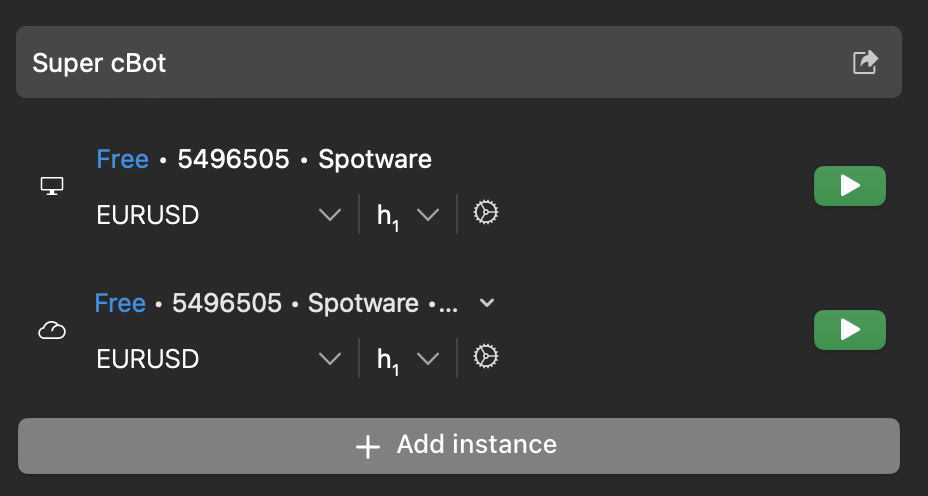
With cloud synchronisation enabled, the cBot appears automatically in all cTrader applications where your cTID is active. We can start the same trading robot in the cloud in any cTrader app, including cTrader Mobile and Web.
In cTrader Algo, start the cBot.
This article has demonstrated how to create a Python trading robot and start it, empowering you to automate your strategies and run algos on any device.