Plugins allow you to add buttons for specific actions, tasks or content to the Chart toolbar in cTrader. When an action button is clicked, the programmed operation is executed.
In this article and its corresponding video, we will show you how to add new buttons to the Chart toolbar using a plugin.
Create a plugin
First, we will create a plugin and code it to display a button that opens positions when it is clicked.
Open the Algo app and navigate to the Plugins tab. Click the New button. Select the Blank template. Type in a name for your plugin, such as "Custom Toolbar Button", then click Create.
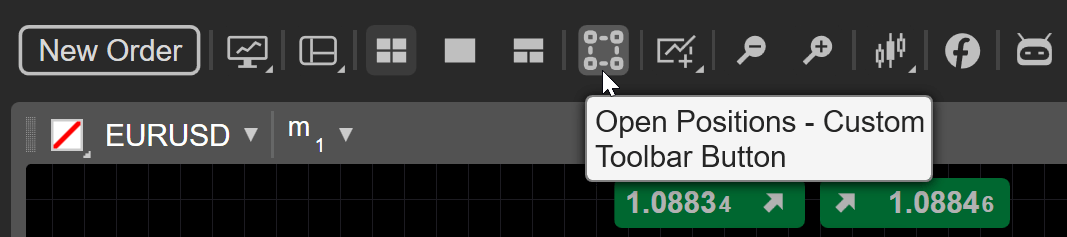
Build the plugin by using the Ctrl+B hotkeys or clicking the Build button. Then, go to the Trade app and confirm that a new button has been added to the Chart toolbar.
When you click the button and grant permission, you should see some positions open.
Add a custom image for the button
If you do not like the default icon, you can set your preferred image as the icon for your plugin. Based on XML code, SVG images are the objects most commonly used as icons. cTrader Algo provides commands that allow you to specify and use custom SVG images as icons.
Obtain the image code
Create or download the SVG image you want to use as an icon. Open the SVG file in XML mode in Notepad, Visual Studio Code or any IDE. Use the Find and replace functionality in the program to replace all double quotation marks " with single quotation marks '.
Your XML code should not contain double quotation marks.
Go to the Trade app to confirm that the new icon has appeared.
Add a button with a pop-up menu
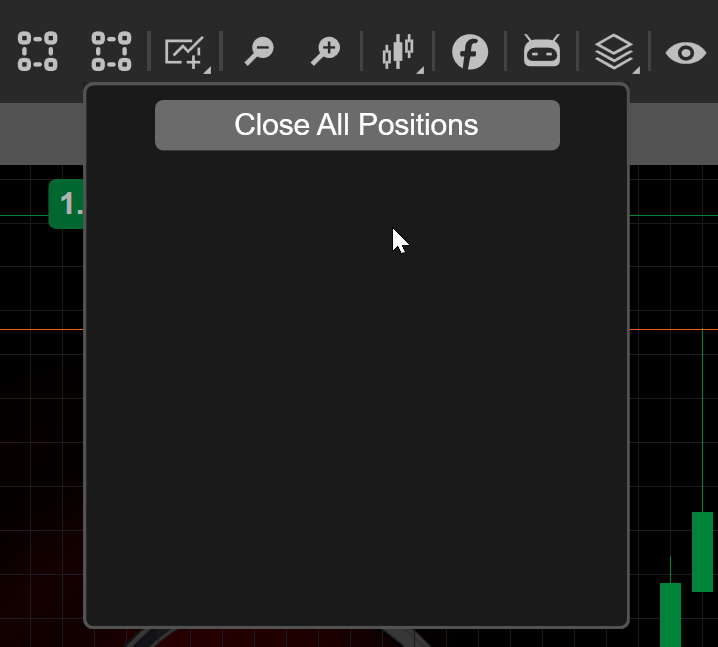
Besides buttons that execute specific operations when clicked, you can add buttons that display a pop-up menu. You can customise the resulting menu to have it display several buttons or a single mini terminal.
Return to the code editor in the Algo app, create a button that opens a popup menu and add another button that provides the Close all positions functionality inside that menu. When this button is clicked, all previously opened positions will be closed.
varbuttonStyle=newStyle();buttonStyle.Set(ControlProperty.Margin,newThickness(0,5,0,0));buttonStyle.Set(ControlProperty.Width,150);varclosePositionsButton=newButton{Text="Close All Positions",Style=buttonStyle};
Declare a stack panel and add the button as a child.