Creating a Plugin
Action Map
The following diagram showcases the action flow for creating a new plugin.
graph TB
    A([Add a New Plugin]) ==> B([Determine the Placement]);
    B ==> C([Edit the Sample Code]);
    C ==> D([Save and Build Your Plugin]);
Add a New Plugin
To create a new plugin, switch to the 'Plugin' tab and click on 'New'. The following window should open.
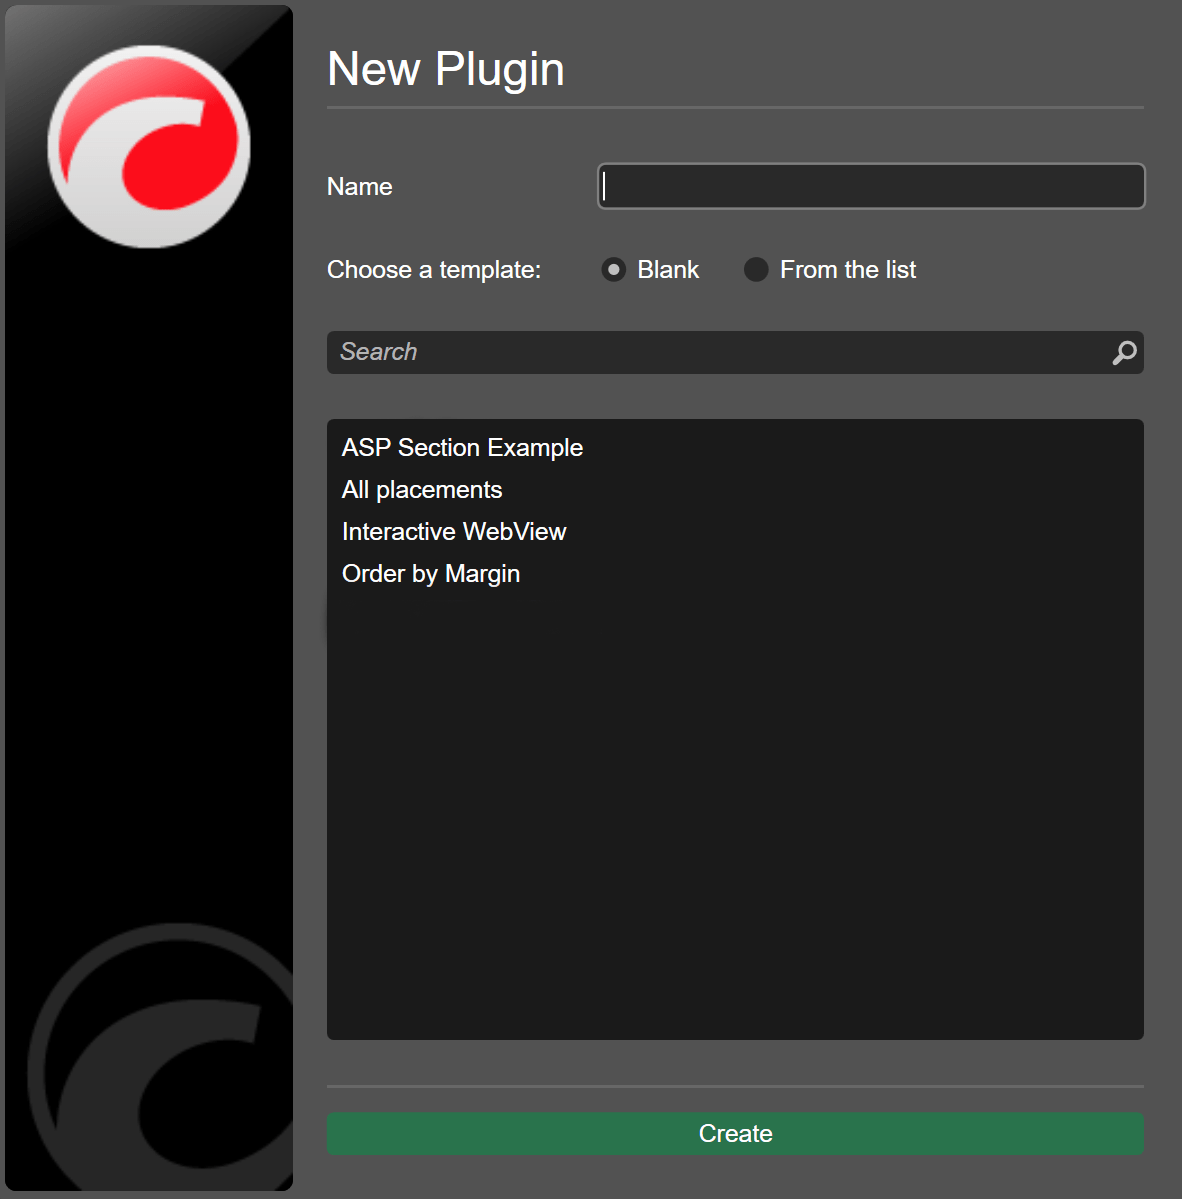
Type the indicator name and select between two options.
- 'Blank'. If this option is chosen, the new plugin will contain only a basic template.
- 'From the list'. If this option is chosen and a plugin is selected from the list below, the new plugin will contain the entire code of the chosen algo. The pre-made plugins in the list cover a wide range of placement options and integrations.
Samples Repository
The code samples for the 'From the list' option are taken from the git@github.com:spotware/ctrader-automate-samples.git repository. To access it, click here.
Click on 'Create' to finish setting up the plugin.
Note
If you would like to create a similar algo but with a different name, you can always use the duplicate functionality.
Determine the Placement
As stated in our introduction to plugins, plugins can add new elements to several different places in the cTrader UI, namely the 'Active Symbol Panel' (ASP), the 'Trade Watch' display, and as a separate chart. Click here to learn more about showing custom elements via plugins.
Before coding your plugin, try to define where exactly you want it to display custom information or controls.
Placement Options
When determining where a plugin will display its elements, try to make a decision based on the plugin functionality. If you want to show a large WebView of a financial news stream, displaying the instance in a chart frame is a reasonable choice. Conversely, a small custom trading panel may be better suited for the ASP. Another example would be a plugin that is supposed regularly occuring messages of some sort. In this case, you may want to consider using the 'Trade Watch' display.
Edit the Sample Code
Click on your new plugin to open the code editor window. If you have chosen 'Blank' in the plugin creation window, it will contain the following code.
1 2 3 4 5 6 7 8 9 10 11 12 13 14 15 16 17 18 19 20 21 22 23 24 25 26 | |
Note
If you have chosen 'From the list' during the previous step, your plugin will be ready for action immediately. It will contain all placement logic and some custom functionalities.
As shown in one of our tutorials, the plugin attribute Plugin along with its optional parameters (such as AccessRights) precedes the class declaration (NewPlugin).
All new plugins inherit from the base Plugin class and, as a result, they gain access to several features such as being able to trade, display custom controls, or access the Internet.
Similarly to cBots, each plugin can call the OnStart() and OnStop() methods. The OnStart() handler is called once when a new plugin is initialised while the OnStop() handler is called when the plugin instance is stopped in the 'Settings' window, is deinstalled or cTrader is closed by the user.
Exception Handling
Just like any other algo, plugins also have access to the OnException method that you can use to adjust how a plugin responds to errors.
In addition, each plugin has access to a Timer object. If you start built in timer of the Timer class. If you initialise it, and specify the OnTimer() handler, it will be executed each time the specified timer interval elapses.
For demonstration purposes, we will create a simple plugin that displays the total number of currently open profitable positions. The plugin is attached to the ASP and updates its display every second using the built-in timer.
To see the plugin in action, you can simply copy and paste the code below into the code editor window.
1 2 3 4 5 6 7 8 9 10 11 12 13 14 15 16 17 18 19 20 21 22 23 24 25 26 27 28 29 30 31 32 33 34 35 36 37 38 39 40 41 42 43 44 45 46 47 48 49 50 51 52 53 54 55 56 | |
Save and Build Your Plugin
After you edit the sample code to suit your requirements, the only two things left to do is to save and build the plugin. To save your algo, press Ctrl+S or click on the 'Save' button located above the code editor window.
Upon saving your code, press Ctrl+B or click on the 'Build' button at the top of the code editor. If the build action is successful, a message confirming this will appear in the 'Build Result' section. If the build fails, this section will, instead, display a summary of all errors encountered when the build action was performed. Clicking on an error description in the 'Build Result' viewer will show you the exact place in your code where this error occurs.
On a successful build, the plugin will immediately add custom elements to all suitable areas of the cTrader UI specified in its code.