UI basics
The cTrader Mobile user interface includes several main tabs, menus and action buttons which together form the intuitive and powerful tool for trading on your mobile device.
Trading is performed through the familiar mechanism of creating and placing trading orders.
The app allows users to easily manage their trading accounts and gives access to thousands of trading assets in both demo and live modes.
The user workspace consists of the Main menu, several sections with several tabs in each section.
A user can switch sections by tapping them at the bottom of the screen, and navigate between the tabs by tapping the Tab bar at the top of the screen or just swiping them.
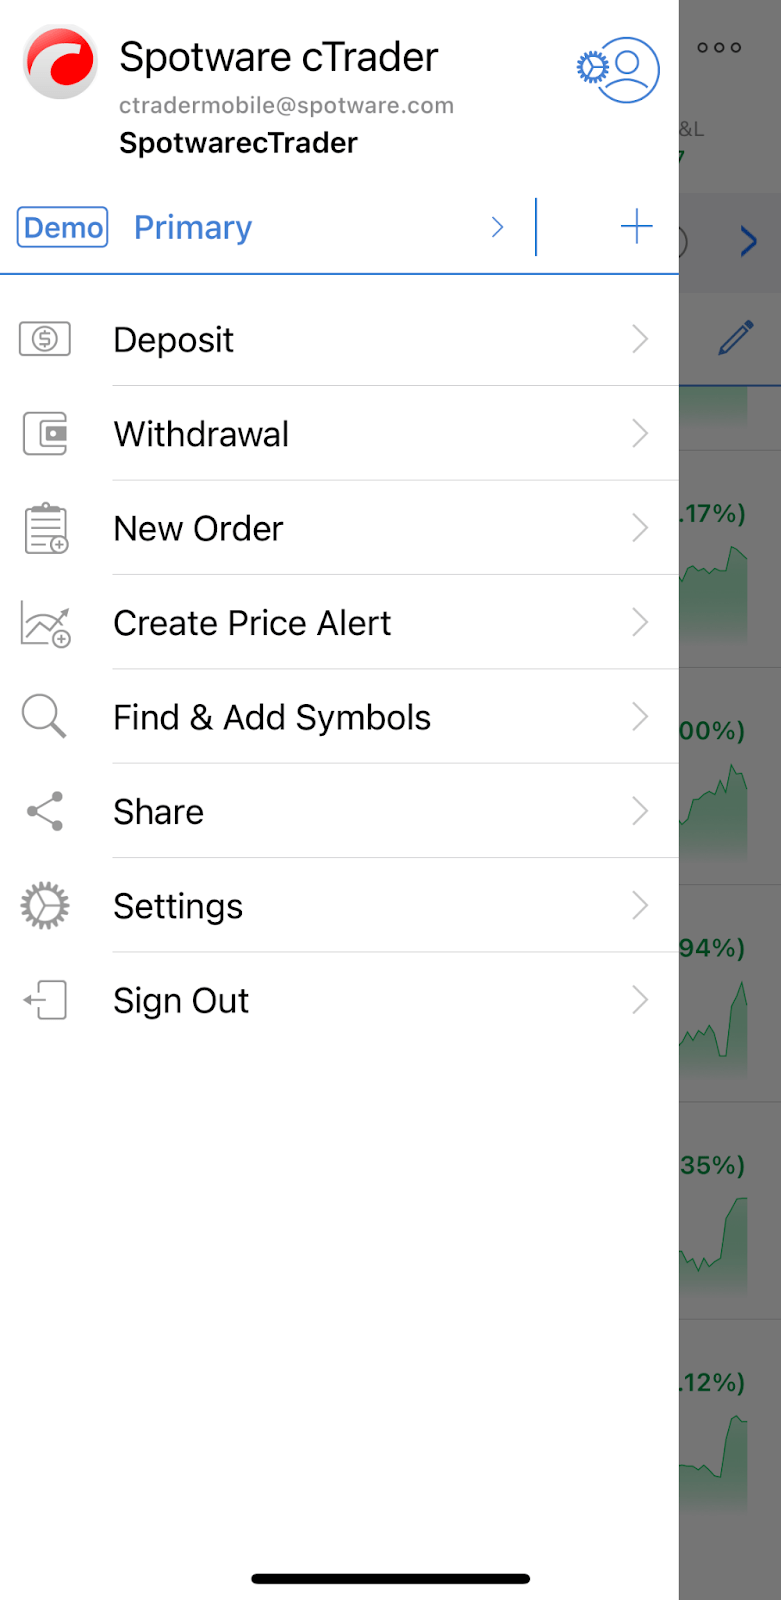
Main menu
cTrader Mobile Main menu gives quick access to the basic functionalities and options of the application. From the Main menu a user can:
- Create new accounts, switch between the accounts with the Accounts picker or manage them with the Accounts button.
- Deposit funds.
- Withdraw funds.
- Create new orders (market, limit, stop and stop-limit orders).
- Create price alerts - configuring alerts to trigger when the market reaches a specified price. You can receive alerts via push notification and email as well. You need to send a confirmation link from Settings to enable email alerts.
- Search for a proper symbols to trade, with the Find & add symbols option.
- Start a live chat with cTrader support.
- Share cTrader app with direct link.
- Become a strategy provider.
- Manage cTrader basic settings - time zone, language, sounds, asset units, alert notifications, Quick Trade settings, etc.
- Tap the cTrader logo in the top-left 7 times if you want to send troubleshooting information. This will help with the development of the application.
Settings
By tapping the Settings option in the main menu, the settings screen will open.
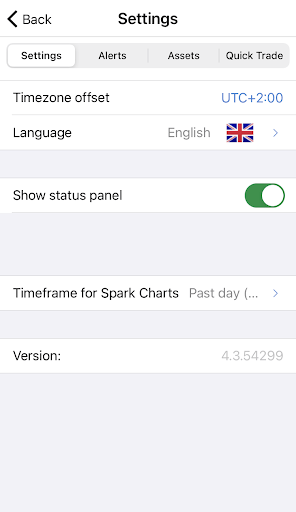
In this screen, 4 tabs are available
- Settings
- Alerts
- Assets (only for non spread betting accounts)
- Quick Trade
Settings
In the Settings screen, you can configure the following
- Timezone offset – the timezone to be used for the time information displayed in your application.
- Language – the language of your application.
- Show status panel – when this option is enabled, the status panel is displayed in the Positions tab and in the main menu.
- Timeframe for spark charts – the period used of the spark charts shown in the watchlists.

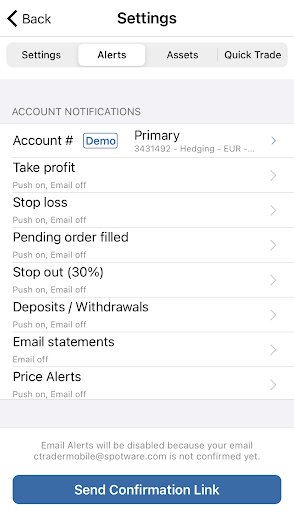
Alerts
In the alerts tab you can configure which alerts you would like to receive for each account and in which form, email or push notification.
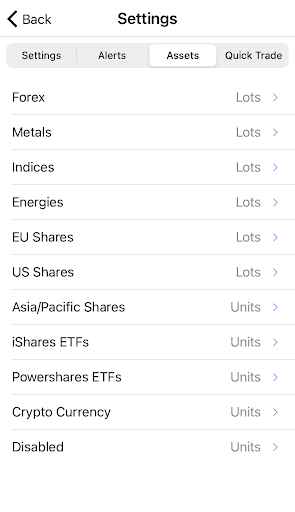
Assets (only for non spread betting accounts)
In the Assets tab, you can choose how volume will be displayed for each asset class, in units or lots
Quick Trade
In the Quick Trade tab, you can configure the settings for your Quick Trade panel inside your chart
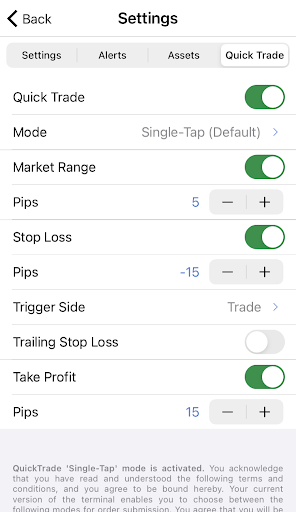
You can configure the following settings
- Quick Trade – by toggling this button on and off, you can enable or disable the entire Quick Trade functionality. If Quick Trade is disabled, the Quick Trade buttons open the New order screen instead of placing an order.
- Quick Trade mode – in this dropdown you can select the mode of your Quick Trade feature. There are 3 options available
- Single tap – orders are placed with a single tap of the relevant Quick Trade button.
- Single tap with confirmation – orders are initiated with a single tap of the relevant Quick Trade button but need to be confirmed in the raised dialog window.
- Double tap – orders are placed with a double tap on the relevant Quick Trade button.
- Market range – when this checkbox is selected then orders are placed with a market range. Market range pips can be defined in the relevant text box appearing after the checkbox has been selected.
- Stop loss – when this checkbox is selected then orders are placed with a stop loss. Stop-loss pips can be defined in the relevant text box appearing after the checkbox has been selected.
- Trigger side – this option allows you to select the trigger side of your order.
- Trailing stop loss – when this checkbox is selected then the stop loss of the order will be a trailing stop loss
- Take profit – when this checkbox is selected then orders are placed with a take profit. Take-profit pips can be defined in the relevant text box appearing after the checkbox has been selected.
Accounts
Account information bar
The account information bar is always displayed at the top of the screen.
It displays the real-time reflection of your account Balance, Equity, Gross and Net profit and loss, Margin details, Stop out, Trading sessions and the current Time.
Tapping the Account information bar displays full information. Hide or expand the account information by tapping the dropdown in the upper right.
Manage accounts
The Account button allows changing the account password, signing out from all of the accounts, selecting an existing account to trade or opening a new demo account.

By tapping the Account button, the Manage accounts screen will pop up

In this screen you have the following options:
- cTrader ID – manage your cTrader ID
- Credentials – manage your credentials
- Active sessions – view and Revoke active sessions
- Trading accounts – edit accounts and name visibility
- New live account – create new live trading account
- New demo account – create new demo trading account
- By tapping the Trading accounts option, the following screen will appear
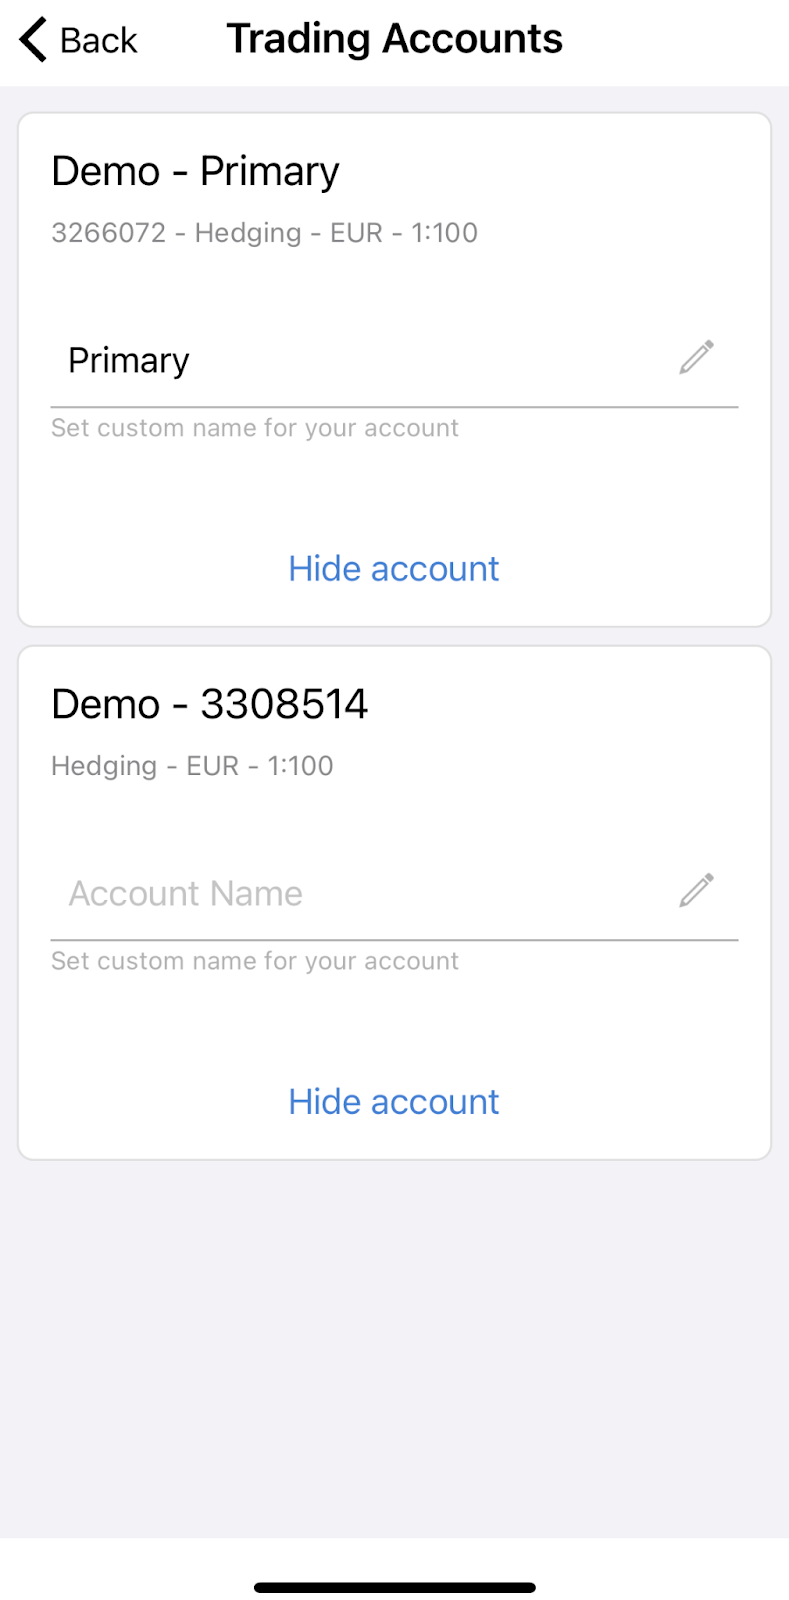
Here you can set names for your accounts as well as hide them from the drop-down list.
Select an account
The Accounts picker allows switching between the accounts. When tapped - the Accounts list is shown.

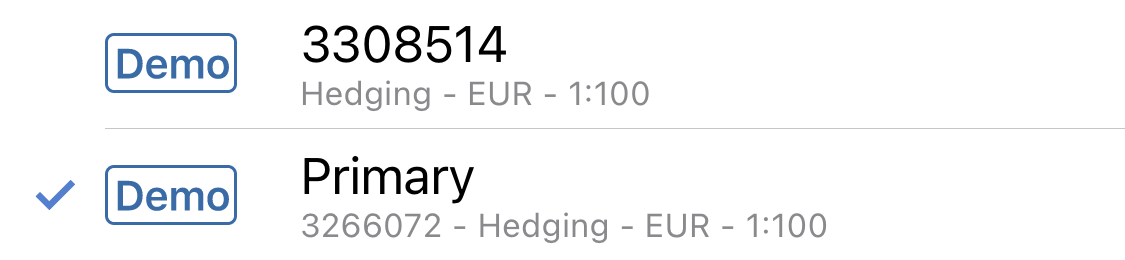
Accounts list
All the user demo and live accounts are displayed in the list. A user can select and use only one account. D or L abbreviation next to an account means that it is a demo or a live account respectively.
Dark theme
You can switch between the dark and light themes in the settings of your device.